Brief Description: Epoxy Right Door Shells together
45-05 Steps 1, 2, 3, 4, 5, 6, & 7
Brad assisted me today with these steps.
There are three locations on each door where the bag sides of the C-1002A Door Outer Shell and C-10028 Door Inner Shell are locally bonded together. The three locations are as follows: The "cranial cavity" in the upper door above the window, the "latch pocket" in the lower door, and the "elbow cavity” in the lower door aft of the latch pocket. At the cranial cavity and elbow cavity the door shells require a "bridge" of structural filler material between them. The material used for the structural filler is a 3 dimensional weave glass fiber fabric called ParaBeam. Cut four pieces of ParaBeam.
Brush a light coat of epoxy to the bag sides of the C-1002A-R Door Outer Shell and C-1002B-R Door Inner Shell at the three places where they are bonded together.
Wet-out with epoxy each of the two pieces of parabeam for the right door then place it at the appropriate spot on the C-1002B-R Door Inner Shell.
Mix some epoxy and thicken it with cab-o-sil to the point that it will not pour out of the mixing cup. A total mixture quantity of about 10 fluid ounces will be required. Apply a 1/32 to 1/16 inch layer of thickened epoxy to all the mating surfaces around the door outside perimeter and window inside perimeter of the C-1002B-R Door Inner Shell.
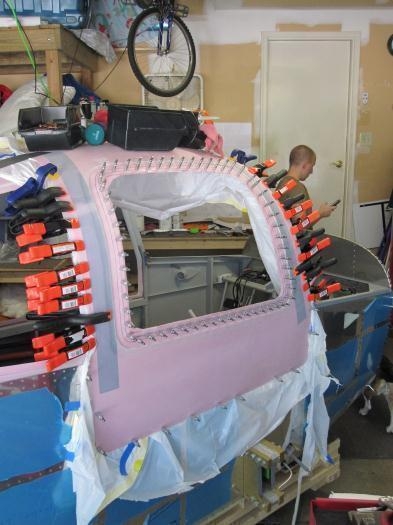
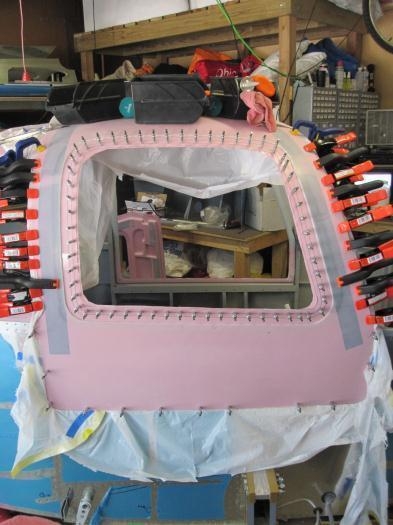
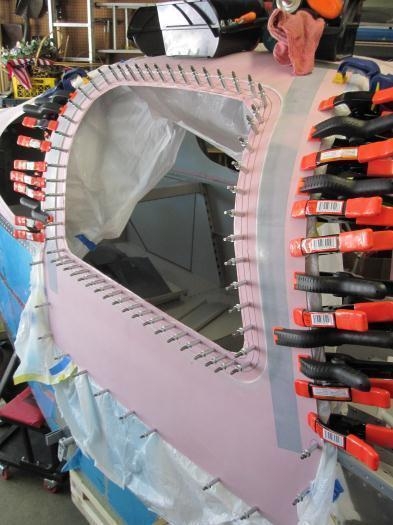
Put one cleco at the lower forward corner and one cleco at the lower aft corner of the C-1 002A-R Door Outer Shell. Allowing contact only along the lower edge, use the two clecos to join the door outer shell to the C-1002B-R Door Inner Shell. Lay the remainder of the door outer shell in place on the door inner shell and cleco them together at only the upper forward and upper rear corners of the window.
Place the C-1002A-R door inner sheIl/C-1002B-R door outer shell subassembly on the fuselage and cleco it to the fuselage at the two index holes. Insert clecos through all the holes around the perimeter of the window.