Brief Description: Windshield, Nose Wheel Pants, & Wingtip
Janice continued working on the empennage fairing and wingtip.
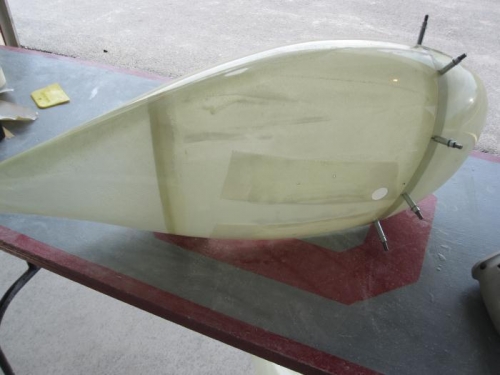
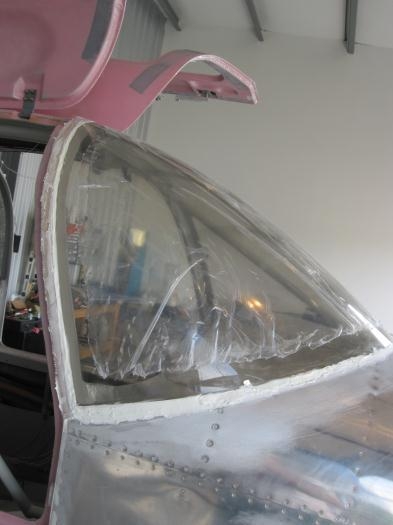
I put a coat of micro on the top joint of the windshield and put a second coat along the upper fuselage assembly where it sagged a bit yesterday.
Renee assisted me with the nose wheel pant.
48-18, 2, 3, & 4
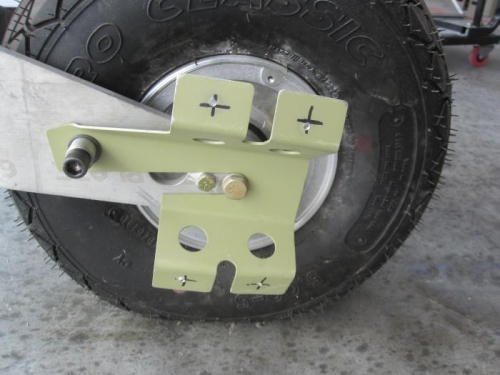
Recheck the alignment of the U-1013 Wheel Fairing with the floor. Sight through the U-1013B Wheel Fairing Rear and drill through the wheel fairing rear and the U-1013C-L/R Nose Wheel- Fairing Brackets. Drill the 1 in. Dia. access holes as per the callouts. Shim between the tire and the fairing iflas required to hold the fairing in place while drilling. Mark the wheel opening clearance as shown. Remove the fairings and trim the opening.
Tap the U-1013C-UR Nose Wheel - Fairing Brackets for 6-32 screws. Reattach the wheel fairings to the main wheel fairing bracket with 6-32 screws and check their alignment.
Follow the procedures on Page 48-6 Step 5 for applying epoxy to the inside of the fairings.