
|

|
|
|
Bob Leffler's RV-10
|
Date: 4-2-2011
|
Number of Hours: 5.00
|
Manual Reference: 47-11
|
Brief Description: Cowl #4
|
|
Brad assisted me today. It's hard getting the cowl pieces on and off by yourself. We probably did this at least a dozen times while working on getting the two pieces to better fit with each other.
47-11, Steps 1, 2, 3, 4, 5, 6, & 7
Cleeo the F-10108A Support Bracket to the F-101088 Splice Plate. Final-Drill #19 the open hole in the center of the Firewall Bulkhead Assembly bottom flange. Attach the support bracket to the bottom flange using this hole and the hardware shown.
Make sure the F-10108A Support Bracket is vertical, not angled toward the left or right, then align the centerline of the F-10108B Splice Plate with the WD-1017 Nose Gear Leg Assembly. This can be accomplished, by projecting two lines off the edges of the splice plate and rotating the splice plate until there is equal distance between these lines and the Nose Gear Leg Assembly. Clamp the splice plate in position then trace the side and aft edges of the splice plate onto the bottom cowl. Remove the bottom cowl, the F-10108A Support Bracket, and the F-10108B Splice Plate from the plane.
Reposition the F-10108B Splice Plate on the bottom cowl using the trace made. Match-Drill #40 the six 3/32" nutplate screw holes along the sides of the splice plate into the bottom cowl.
If necessary, trim the aft edge of the bottom cowl scoop even with the aft edge of the F-10108B Splice Plate.
Cleco the two F-10109 Louvers and the F-10108B Splice Plate to the bottom cowl using the six nutplate screw holes drilled into the bottom cowl. Match-Drill #40 all of the 3/32" holes in both louvers into the bottom cowl. Cleco while drilling. Final-Drill #19 the six nutplate screw holes common to the louvers, splice plate, and bottom cowl.
Trim the slot for the WD-1017 Nose Gear Leg Assembly so that it is even with the edges of the F-10109 Louvers.
Cut the ten louver slots into the bottom cowl. Start by drilling the holes in the center of the radius at both ends of each slot 13/16" then trim between the holes to finish the slot.
|
|
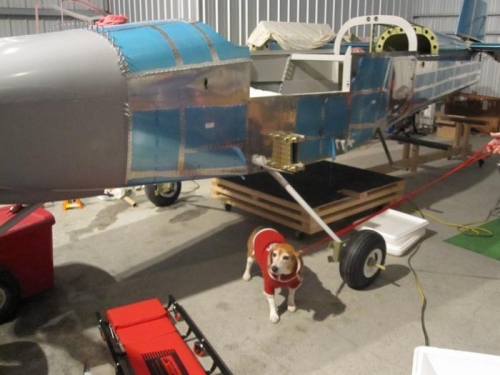
Chloe
|
|
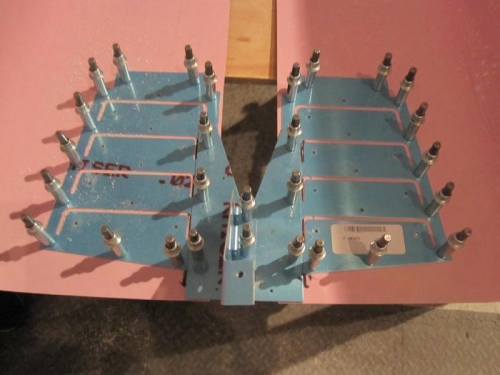
Louvers and Splice Plate
|
|
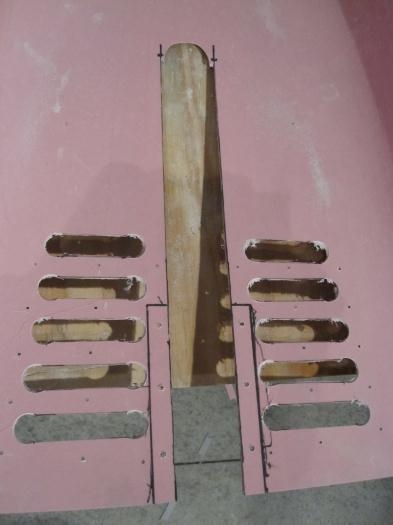
Louver slots cut
|
|
|
|
|
|
|
|
|
Copyright © 2001-2024 Matronics. All Rights Reserved.
|