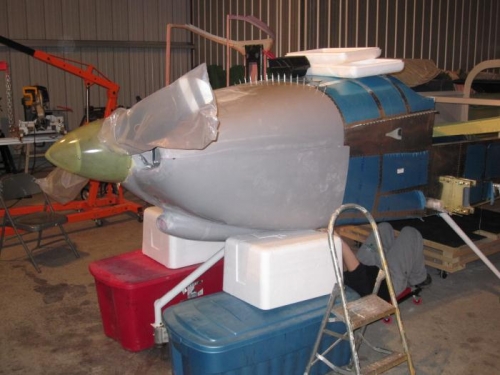
Tape 1/8 inch thick spacers to the forward face of the bottom cowl in at least three locations.
Fit the bottom cowl to the aircraft. Slip the excess material along the sides of the bottom cowl (top edge) over the excess material along the lower edge of the lop cowl. If required slighlly increase the width of the slot created before.
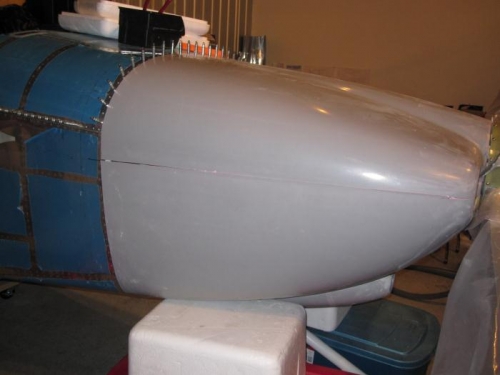
Using the reference line drawn before, mark a line along the bottom edge of the bottom cowl three inches forward that corresponds to to the forward edge of the F-1072 Fwd Fuse bottom Skin. The line need only extend far enough that when the excess material aft of the line is removed the bottom of the cowl will lay flat against the F-1001Q-L and -R cowl Attach Hinges. Do not mark the sides of the bottom cowl yet!
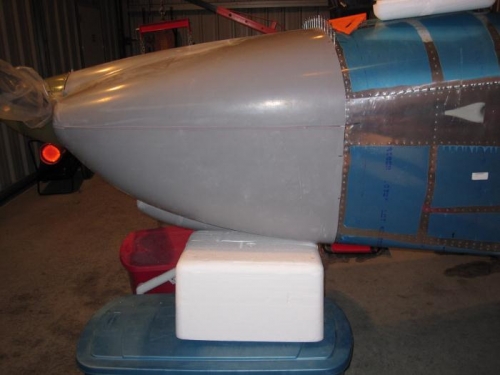
Remove the bottom cowl and trim away the excess material aft of the line drawn. Check that the bottom cowl will lay flat against the F-1001Q-L and -R Cowl Attach Hinges. Do not bother to trim the excess material aft of the boltom cowl scoop at this time.
Using the reference line drawn on before, mark a line along the aft sides of the bottom cowl three inches forward that corresponds to to the forward edge of the F-l 069-L and -R Fwd Fuse Side Skins. Remove the boltom cowl. Cut away the remaining excess material along the side aft edges of the bottom cowl.
We are about 99% done. We still have one or two more rounds of filing to get the back just right.