Tape 1/8 inch thick spacers to the forward face of the lop cowl in at least three locations.
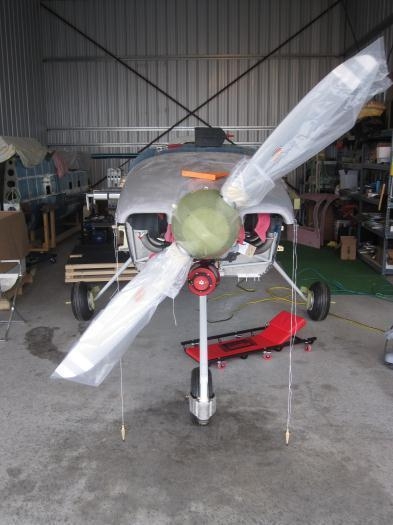
Level the aircraft laterally. Place the top cowl on the aircraft, centering it behind the spinner. Hang plumb bobs from symmetrical points on the forward edge of the lop cowl air inlets to the floor. When the length of the plumb bobs is equal, the top cowl is level with the aircraft. Make a reference mark on the aft edge of the lop cowl that extends onto the F-1071 Fwd Fuse top Skin.
Draw a line onto the top cowl three inches forward of the line made previously. This line corresponds to the the forward edge of the F-1071 Fwd Fuse top Skin. Extend this line approximately 15 inches to either side of the aircraft centerline.
Remove the top cowl and from fifteen inches on either side of the centerline, trim the excess material aft of the line drawn. Reinstall the cowl. The upper edge of the lop cowl should drop down onto both F-1001N Cowl Attach Hinges. If further trimming is required remove the lop cowl and slowly remove material with a long straight sanding block.
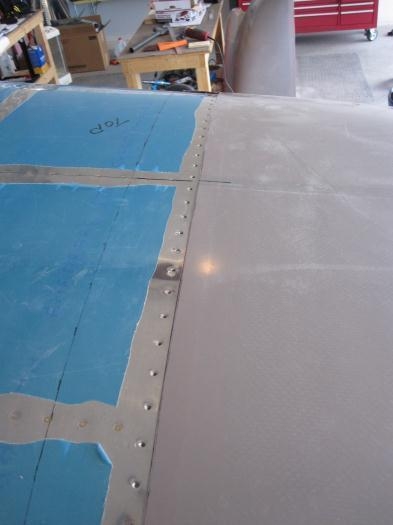
As you can see in the first photo, I still have to finish sanding about half the length of the cowl.