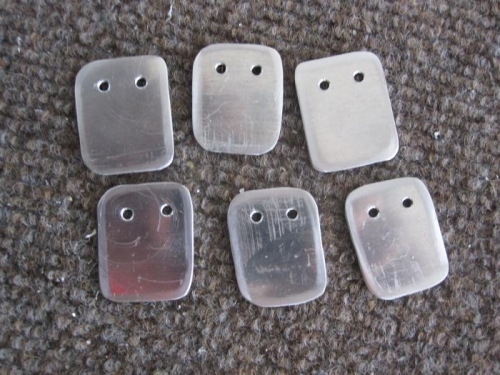
Make six CB-1003D Clips from AS3-032 per the dimensions given.
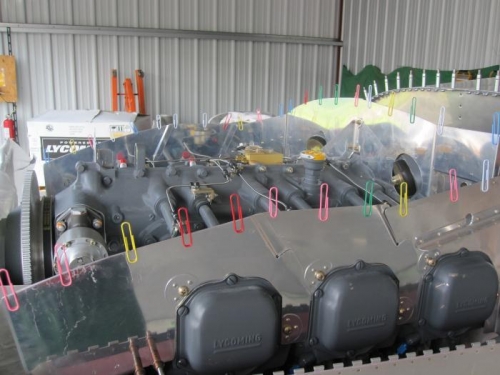
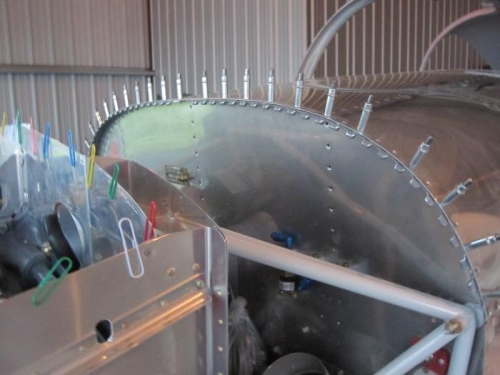
Install the COWL 10 BOT IO-540 Bottom Cowl. Lay the COWL 10 TOP IO-540 Top Cowl in place then mark and trim away the upper edges of the baffles to create a 3/8 inch minimum to 1/2 inch maximum clearance between the upper edge of the baffles and the inside surface of the top cowl. This will take several iterations, be patient! Deburr the upper edges of the baffles.
Match-Drill #40 the holes in the CB-1003D Clips into the baffles.
Being patient for the interations is an understatement. I had to guess at what needed to be cut away on the rear baffle just to get the cowl to set any where close to making measurements. I've seen others use paper clips to mark where the cowl sets. The front baffle still hits the cowl cover, so I'll have plenty of work waiting for the next session.