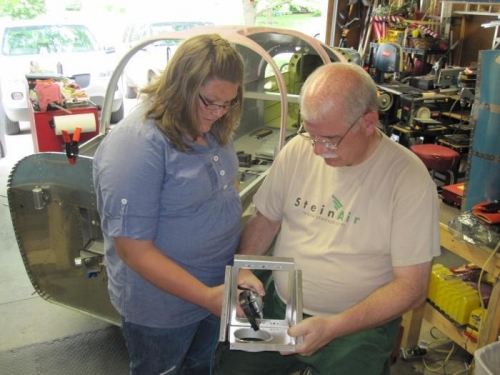
I had some dimpling assistance from Kassidy Bucy, my niece that is up from Baton Rouge to attend Renee’s graduation this weekend.
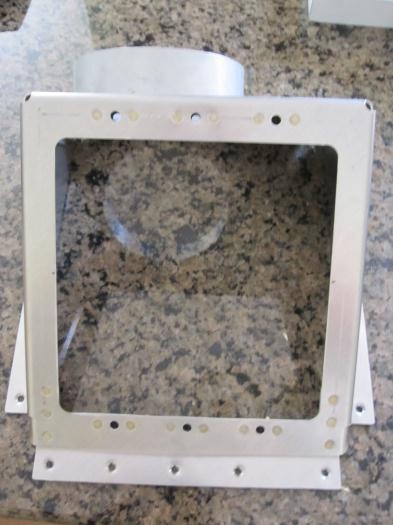
Remove the VA-186B-L and -R Gussets from the VA-186A Oil Cooler Box. Duburr the edges of all three parts.
Cleco the VA-186B-L and -R Gussets to the VA-186A Oil Cooler Box. Cleco the oil cooler box to itself. This will create the VA-186 Oil Cooler Box Assembly.
Final-Drill #40 the VA-186B-L and -R Gussets to the VA-186A Oil Cooler Box. Final-Drill #40 the nutplate attach holes in the oil cooler box. Final-Drill #30 the oil cooler box to itself.
Disassemble the VA-186 Oil Cooler Box Assembly. Dimple the rivet holes in the VA-186A Oil Cooler Box and VA-186B-L and -R Gussets, flush head on the forward and outside faces.
Rivet the VA-186B-L and -R Gussets and nutplates to the VA-186A Oil Cooler Box. Rivet the oil cooler box to itself.
I also am using the Airflow X-Series 2006 oil cooler. They ship a divider plate to better divert air flow across the face of the oil cooler. The installation of the plate doesn’t seem straight forward. The plate isn’t long enough to mount in the position in the instructions. So I decided this is a good place to stop, do some more research on the subject, and come back to it later.