Brief Description: Aileron pushrods and Elevator Idler Arm
39-5, Steps 1, 2, & 3
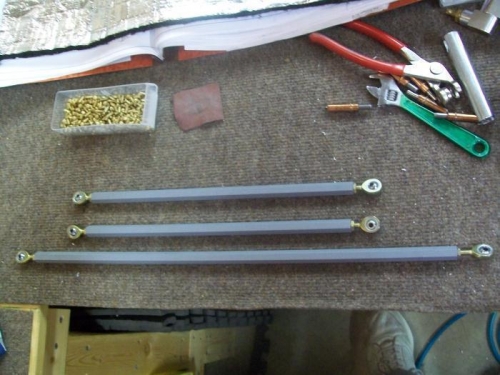
Assemble two F-1064 Aileron Pushrod Assemblies as shown in Figure 1. Assemble the F-1065 Pushrod Assembly as shown in Figure 2.
Remove the F-1035 Battery Bellcrank Mount. Install the F-1089 Elevator Pushrod Assembly by feeding it forward through the aft side of the F-1006 Fuselage Bulkhead and into the position shown on Page 39-1. Make sure the forward end is forward. Install the F-1090 Elevator Pushrod Assembly by feeding it forward through the aft side of the F-1006 Fuselage Bulkhead. Reinstall the battery bellcrank mount.
39-5 Complete
39-6, Steps 1 & 2
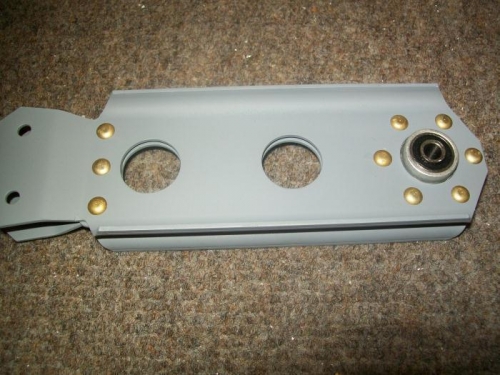
Fabricate the F-1063C Spacer from AS3-063 as shown in Figure 1. Draw a horizontal centerline to use as a guide when match-drilling the part in the next step.
Cleco the two F-1063A Elevator Idler Arms, the F-1063C Spacer, and the VA-146 Flange Bearing together as shown in Figure 2. Adjust the spacer so that the centerline intersects the centers of the two pre-punched holes in the elevator idler arm. Match-Drill and final-drill as per the callouts. Disassemble and deburr all holes and edges. Prime if/as desired. Rivet the assembly together using the hardware shown in Figure 2.
I also installed insulation in the tunnel aft of the spar.