
|

|
|
|
Bob Leffler's RV-10
|
Date: 8-31-2009
|
Number of Hours: 1.00
|
Manual Reference: 34-5
|
Brief Description: Baggage door #4
|
|
34-5. Steps 5, 6, & 7
Place the Baggage Door Assembly in the fuselage cut-out. With the F-1060 Hinge against the F-1058 Hinge Frame, center the baggage door vertically in the fuselage cut-out.
Flush the baggage door with the outside of the fuselage. Duct tape can be used to hold the door in position, and use .063" shims to fill the gap between the door skin and underlying structure. There is a .035" gap between. the eyelets of the two hinge-halves. Slide the forward (free) hinge-half up the hinge pin to remove the gap, then tape it in place. This will prevent a .035" drop in the position of the baggage door when it is riveted in place.
With a grinder or belt sander, remove the excess blade from two clecos.
Using an angle drill, match-drill #40 the bottom most hole of the F-1058 Hinge Frame into the F-1060 Hinge. (Use a wedge between the two legs of the hinge to keep the forward leg against the hinge frame while drilling.) Cleco this hole, using one of the modified clecos, then match-drill a second hole as close as possible to the other end of the hinge while keeping the angle drill clear of the F-1034C-L Fuselage Bulkhead. Cleco this hole with the second modified cleco, and recheck the alignment of the door.
34-5 Completed per plans
|
|
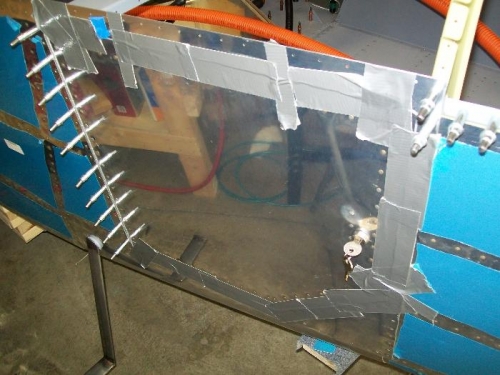
Baggage door held in place with duct tape for alignment
|
|
|
|
|
|
|
|
|
Copyright © 2001-2024 Matronics. All Rights Reserved.
|