
|

|
|
|
Bob Leffler's RV-10
|
Date: 6-29-2009
|
Number of Hours: 3.00
|
Manual Reference: 32-5, 29-19
|
Brief Description: Finishing riveting the tailcone to the fuselage
|
|
Brad and I took my canopy over to CVG today to get it scanned. CVG scanned the canopy for Geoff Combs to use the math data as a basis to create an overhead console.
32-5, Steps 13, 14, 15, 17, & 18
Set the rivets in the row of holes along the aft edge of the F-1 077 Middle Bottom Skin. Finish riveting the aft portion of the F-1077 Mid Bottom Skin to the F-1019, -1020, and -1021 Baggage Ribs. Rivet the F-1070-L Middle Side Skin to the F-10100A Baggage Door Shim and F-1023-L Baggage Floor Angle. Rivet the F-1019, -1020, and -1021 Baggage Ribs to the F-1006B Bulkhead
Install the two snap bushings in the F1006B bulkhead.
32-5 Completed per plans. The tailcone is now fully attached to the fuselage.
29-19, Steps 1 & 2
Cut apart the F-1086 Vent Bracket into two F-1086A and two F-1 086B Vent Brackets. Cut apart the F-1087 Vent Slide into two F-1087A and two F-1087B Vent Slide.
Cleco the F-1087A Vent Slide, F-1087B Vent Slide, F-1092 Vent Door Doubler and F-1093 Vent Door together. Final-Drill #40 the holes common between these parts. This creates the Vent Door Subassembly. Repeat this step to create a second vent door subassembly.
|
|
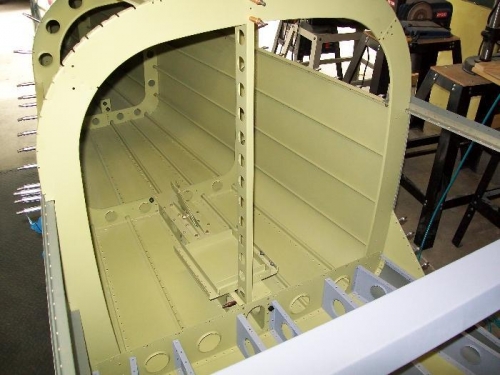
Tailcone fully attached
|
|
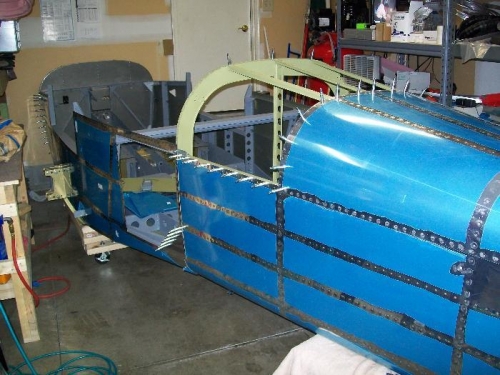
Tailcone fully attached
|
|
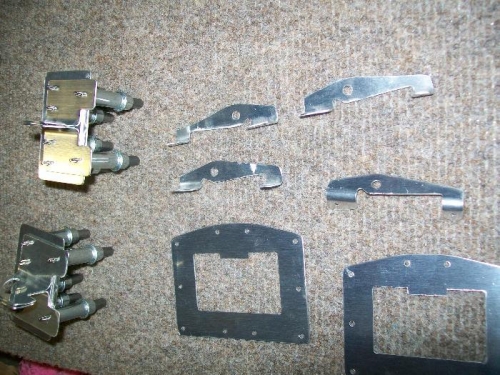
Rear vent parts
|
|
|
|
|
|
|
|
|
Copyright © 2001-2024 Matronics. All Rights Reserved.
|