
|

|
|
|
Bob Leffler's RV-10
|
Date: 6-26-2009
|
Number of Hours: 1.00
|
Manual Reference: 32-2
|
Brief Description: Mounting the tailcone to the fuselage (part 1)
|
|
32-2, Steps 1, 2, 3, 4, 5, 6, 7, & 8
Final-Drill #30 the six holes, which are common to the F-10068 and C Bulkheads. Final-Drill the same six holes on the other end of the F-10068 Bulkhead which are common to the F-1006A Bulkhead. Final-Drill #40 all of the 3/32" holes along the top edge of the F-1006B Bulkhead and the four nutplate attachment rivet holes in the small flange on the top of the bulkhead.
Using a Unibit, drill two 5/8" holes in the F-1006B Bulkhead. Notice that drilling through the bulkhead will also create notches in the forward flanges of the F-1029-L and -R Bellcrank Ribs. Snap bushings for the rudder cables are installed in these holes later.
Remove the F-1006B Bulkhead and deburr the holes drilled in the previous steps.
Dimple (flush on the top side) the four #40 nutplate attachment rivet holes in the small flange on the top of the F-1006B Bulkhead. Dimple (flush on the forward side) the #40 holes along the top edge of the F-1006B Bulkhead. Dimple the three #40 holes in both the F-1006A and C Bulkheads for the dimples in the F-1006B Bulkhead. Dimple (flush on the forward side) the two #30 holes in the F-1006B Bulkhead and the underlying holes in the forward flanges of the F-1029 Bellcrank Ribs.
32-2 Completed per plans.
|
|
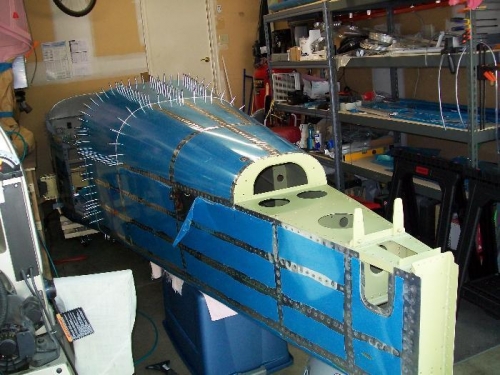
Tailcone clecoed - left side
|
|
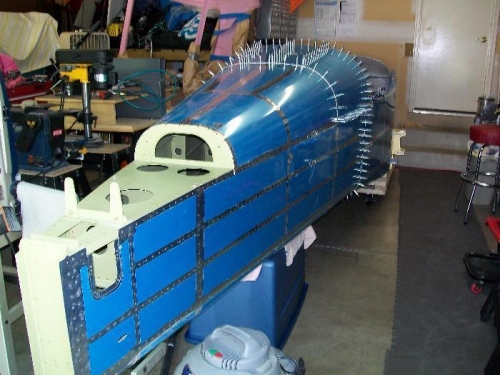
Tailcone clecoed - right side
|
|
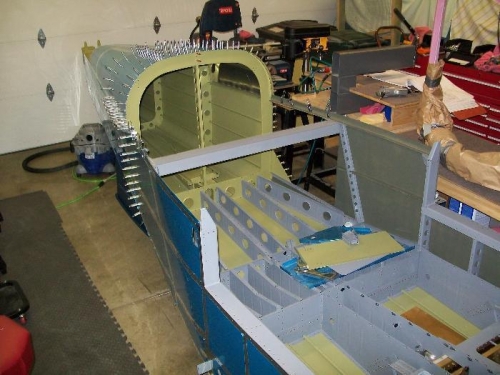
Tailcone attached to the fuselage from the front
|
|
|
|
|
|
|
|
|
Copyright © 2001-2024 Matronics. All Rights Reserved.
|