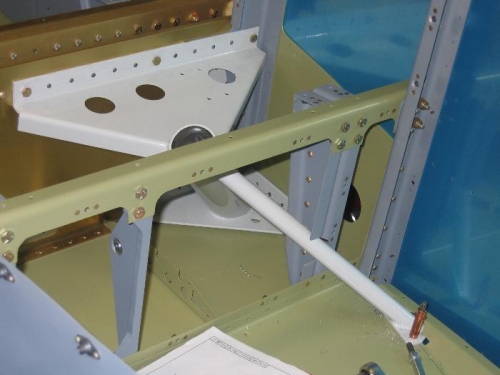
Temporarily reinstall the F-10S0-L Forward Cabin Floor Panel. Draw a centerline through the existing forward cabin floor panel rivet holes so that it extends to the aft edge of the part This line is used as a reference aid in drilling through the Forward Brace Mount Plate. Temporarily install the landing gear mount using the hardware called out. Insert the WD-1021 P Shim into the gap between the landing gear mount and the F-1004K-L Center Section Side Plate before tightening the bolts. Copy/transfer the rivet centerline from the forward cabin floor panel to the lop surface of the forward brace mount plate so that it intersects the two existing reference lines. Drill through the forward brace mount plate, forward cabin floor panel, and F-1049C-L Forward Fuselage Floor Rib at the two intersections of the centerline and reference lines and as per the callouts.
Match-Drill #30 then final-drill #12 the F-1 004K-L Center Section Side Plate, WD-1 021 P Shim and the WD-1021-L Landing Gear Mount using the four pre-punched holes in the F-1069-L Forward Side Skin as a guide. Remove the landing gear mount, shim, and forward side skin. Clean out the drill chips, debur the parts. Remove the F-1050-L Forward Floor Panel and debur the two #12 holes.
28-17 Completed per plans.
28-18, Step 1
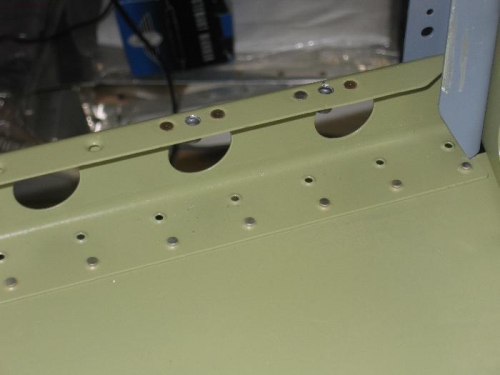
Match-Drill #40 the four nutplate rivet holes into the F-1049C-L Forward Floor Rib. Temporarily hold the nutplates in place on the top of the forward floor rib using AN3 bolts while the holes are drilled. Match-Drill one rivet hole and cleco it before drilling the second. Dimple the rivet holes in the forward floor rib for the rivets called out. Rivet the nutplates into place.