
|

|
|
|
Bob Leffler's RV-10
|
Date: 11-10-2009
|
Number of Hours: 3.00
|
Manual Reference: 40-6, 40-7, 40-8
|
Brief Description: Flap Torque Tube and Flap Crank #3
|
|
Brad assisted me today. His hands are smaller and more nimble than mine.
40-6, Step 1, 2, 3, & 4
Fabricate two WD-1013J Spacers from AT6-058X3/8X3/16. Fabricate one F-1066D Spacer from AT6-058X3/8X19/32. Fabricate one F-1066E Spacer from AT6-058X3/8X7/32.
Drill a 1/16 diameter hole through the upper lip of the ES 85615-10 Flap Motor to accept safety wire. This hole should exit outside the profile of the jam-nut. Avoid removal of the jam-nut and rod end since the length of the assembly has been set at the factory.
40-6 Completed per plans.
40-7, Steps 1 & 2
Bolt the WD-1013A Flap Crank to the WD-1013C Flap Torque Tubes. With the F-1066B-L Flap Motor Attach Angle free from the F-1066A Bracket, slip the AN4-20 bolt through it, the F-1066E Spacer, the ES 85615-10 Flap Motor lug, and the F-1066D Spacer. Lower this assembly onto the F-1066A Bracket and then insert the bolt into the F-1066B-R Flap Motor Attach Angle. Add the washers and nut as per the callout but do not tighten.
Bolt the F-1066B-L Flap Motor Attach Angle to the F-1066A Bracket using the hardware called out. Snug down the AN310-4 nut. Check for interference between the flap motor and the flap motor attach angles and adjust the spacers if/as required to eliminate any interference.
Bolt the flap motor's rod end to the flap crank using the hardware called out. Adjust the length of the spacers for a net fit into the resulting gaps between the flap crank and the flap motor rod end. Tighten the self-locking nut. Tighten the castle nut just enough to remove end play but not so much as to add friction. Add the cotter pin to the AN4-20 bolt as per the callout.
Route the safety wire through the new hole in the ES 85615-10 Flap Motor, around the WD-1013J Spacer and back to the flap motor, winding it securely.
40-7 Completed per plans
40-8 Step 1
Bolt the WD-10138 Flap Horn to the Left WD-013C Flap Torque Tube. Repeat this step for the right side of the aircraft.
40-8 Completed per plans.
|
|
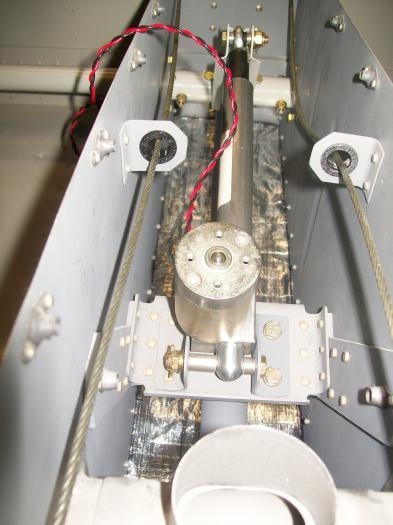
Flap motor assembly looking aft
|
|
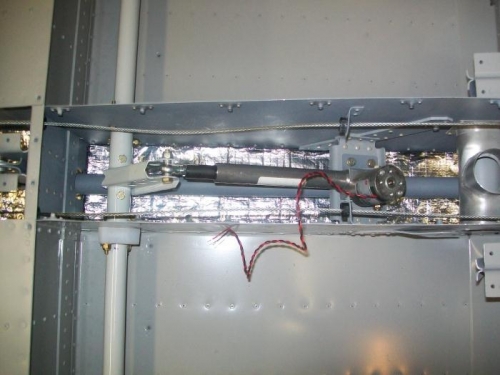
Flap motor and Flap Torque Tube assembly
|
|
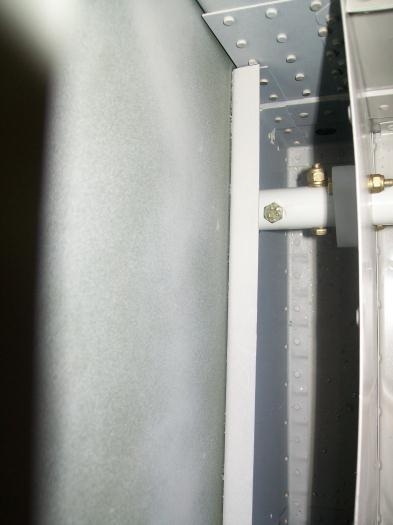
Bolts for the flap horns. These were a royal pain in the rear to install.
|
|
|
|
|
|
|
|
|
Copyright © 2001-2024 Matronics. All Rights Reserved.
|