Brief Description: Flap Torque Tube and Flap Crank #2
40-4, Steps 4 & 5
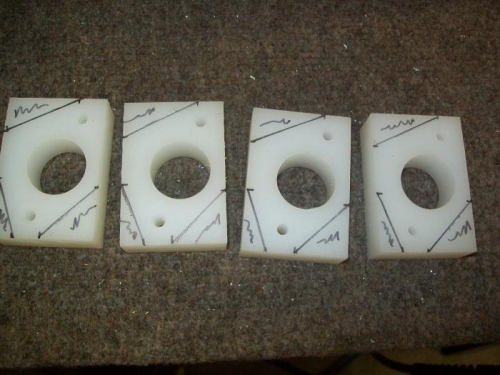
Trim the four F-1030 UHMW Bushings. Only one area must be trimmed for clearance while the other two areas are optional for a small weight reduction. It is acceptable to radius the corners of the UHMW bushings. Slide one F-1030 UHMW Bushing onto each WD-1013C Flap Torque Tube. This UHMW bushing will eventually be positioned to the inboard side of the system. This will form the Right and Left Subassemblies.
40-4 Completed per plans
40-5, Steps 1, 2, 3, & 4
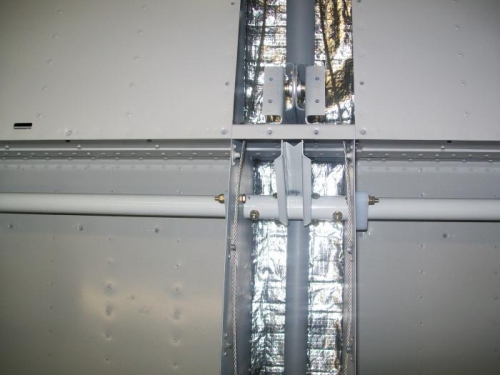
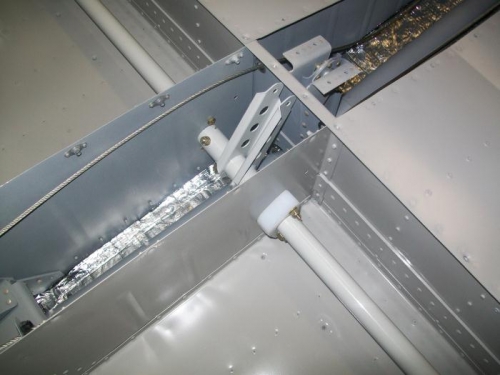
Install the Left Subassembly into the 1-1/8 diameter hole in the F-1016F-L Inboard Footwell Rib. Install a second F-1030 UHMW Bushing onto the Left Subassembly as it passes through the F-1016-L Outboard Footwell Rib. Repeat for the Right Subassembly. Slide the Left and Right Subassemblies outboard. Lower the WD-1013A Flap Crank into position then insert the left and right subassemblies into the flap crank. Rotate the F-1030 UHMW Bushings into position with the thicker wall forward. Bolt the UHMW bushings in place.