
|

|
|
|
Bob Leffler's RV-10
|
Date: 6-4-2011
|
Number of Hours: 2.00
|
Manual Reference: 44-3
|
Brief Description: Wing Attach
|
|
44-3, Steps 1, 2, 3, 4
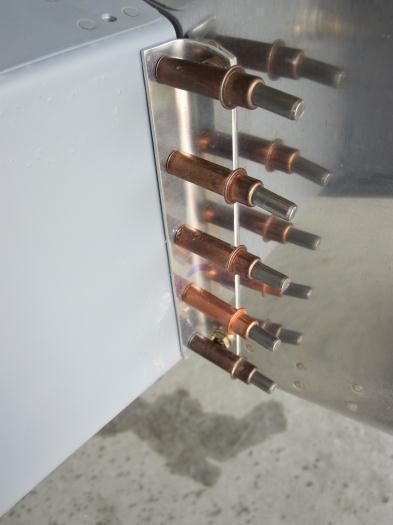
Slide the wing spar (left shown) into the fuselage and temporarily pin. When bringing the spar into it's exact position, lining up the bolt holes in the bulkhead and spar, it is often helpful to use drift pins. This could be a disposable hardware store bolt with the end rounded or tapered on a grinder. Gently driving this lubricated pin into a nearly aligned hole will center the bulkhead/spar hole so that the bolts can be installed without excessive force. It is recommended that 3/8 dia. hardware store bolts be used for test fitting to prevent damage to the holes and NAS bolts. For fitting, it is only necessary to install four 3/8 bolts(pins), one top and one bottom perwing.
Cleco together the rear spar and F-1005B Rear Spar Attach Bars. Clamp them in place. Remove the cleco and carefully pilot-drill to 3/16, 1/4, 5/16, and finally 3/8.
Remove the clamp. Bolt the rear spar to the F-1005B Rear Spar Attach Bars
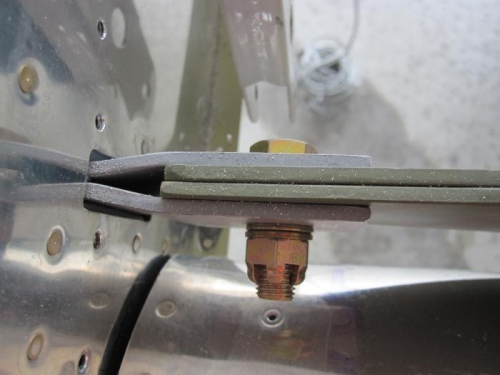
Break apart the F-1054-L Tank Attach Angles and final-drill #12 the holes punched 3/16. Bolt the tank attach angle to the side of the F-1069-L Fwd Side Skin. Match-Drill #30 the T-1005-L Tank Attach Bracket using the holes in the tank attach angle as a guide.
I had many folks assisting with the wings today. Brad Leffler, Janice Leffler, Brad Kyser, Laura Kyser, Ray Latham, Tom Webster, Mike Cencula, and Joe Strausbaugh.
|
|
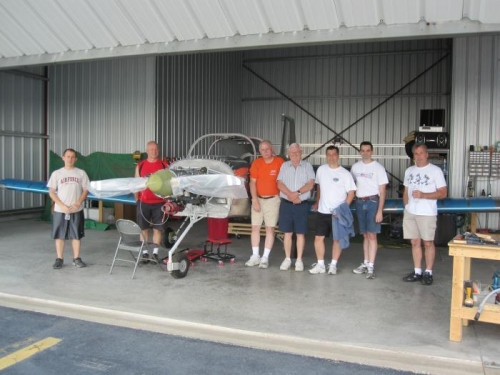
Wings hung
|
|
Tank Attach Angle
|
|
Rear Spar Attach
|
|
|
|
|
|
|
|
|
Copyright © 2001-2024 Matronics. All Rights Reserved.
|