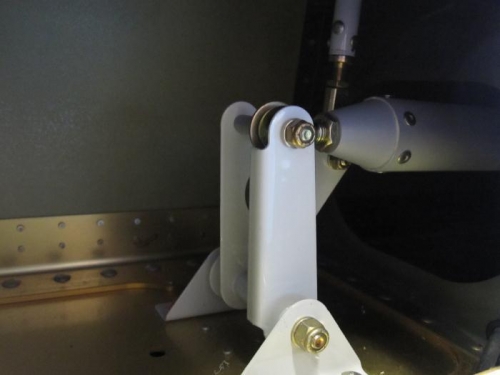
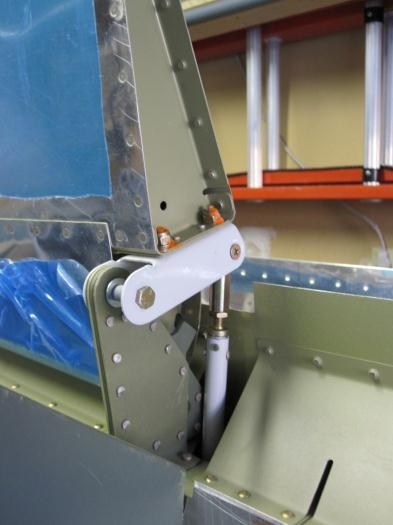
Insert the W-1018 Bellcrank to Aileron Pushrod into the wing through the hole in the W-1007 Rear Spar Assembly. Attach the bellcrank to aileron pushrod to the WD-421-L Aileron Bellcrank. Attach the Aileron Assembly to the W-1014 Outboard Aileron Hinge Bracket and W-1013 Inboard Aileron Hinge Bracket. Attach the W-1018 Bellcrank to Aileron Pushrod Assembly to the A-1007-L Inboard Attach Bracket. Temporarily attach the Flap Assembly to the three W-1025A Flap Hinge Brackets. . Rotate the flap assembly trailing edge up until the inboard end of the nose ofthe flap bumps solidly against the W-1007C Rear Spar Doubler Plate. Secure the flap assembly in this position.
Align the trailing edge of the Aileron Assembly with the trailing edge of the Flap Assembly. Use 'spring clamps and a straight piece of aluminum angle or a thin wood block to hold the aileron assembly in alignment with the flap assembly. This establishes the neutral position of the aileron. Use the W-730 Bellcrank Jig to verify that when the aileron assembly is in it's neutral position, the WD-421-L Aileron Bellcrank is also in it's neutral position. Adjust the engagement of the W-1018 Bellcrank to Aileron Pushrod rod end bearings and jam nuts if/as required. Remove the bellcrank jig.
Double-check that all nuts are tight and properly torqued and that all bearings and bushings rotate freely and without binding.
I was unable to get the screw holding the push rod to the aileron bracket tight. I decided to think on it tonight and tackle it tomorrow.