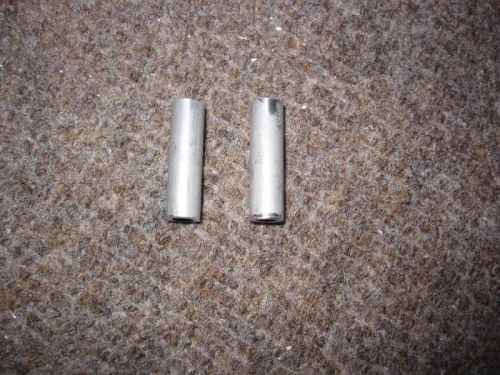
Fabricate two W-1031 Aileron Bellcrank Spacers by cutting two pieces of AT6-05B X 5/16.
23-4, Steps 1 & 2
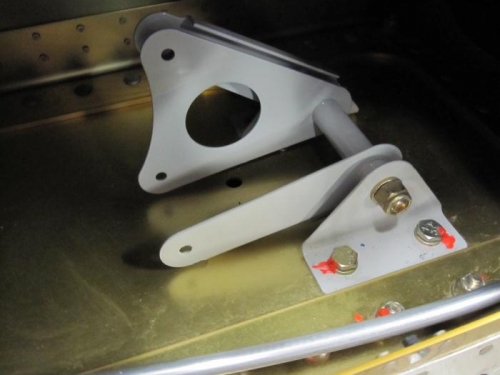
Check that the length of both of the BUSH BR-065 X .375 X 2.781 Aileron Bellcrank Bushings is between 2 3/4 inches and 2 25/32 inches. Check that an AN4 bolt will fit the inside diameter of the aileron bellcrank bushings and ream if required. (It was required) Deburr the ends of the aileron bellcrank bushings so that they slide easily inside the WD-421 Aileron Bellcranks. The pivot tube of the aileron bellcrank must be 1/32 inch to 1/16 inch shorter than the aileron bellcrank bushing. File the ends of the aileron bellcrank pivot tubes if/as required to achieve the correct length. Deburr the inside edges of the aileron bellcrank pivot tubes. Insert an aileron bellcrank bushing into each aileron bell crank.
Install the WD-421-L Aileron Bellcrank/BUSH BR-065 X .375 X 2.781 Aileron Bellcrank Bushing subassembly into the left wing. Install the WD-421-R Aileron Bellcrank/BUSH BR-065 X .375 X 2.781 Aileron Bellcrank Bushing subassembly into the right wing. When the nuts are torqued to the value called-out in Section 5V, the aileron bellcranks must rotate freely on their aileron bellcrank bushings.