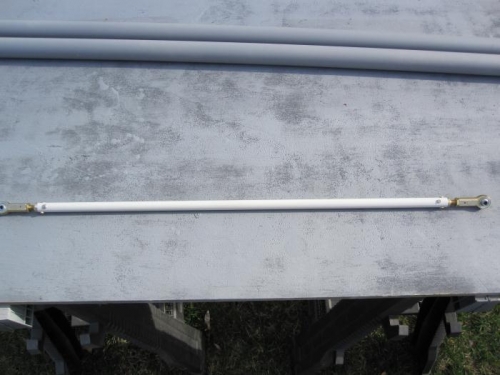
Fabricate two W-101BA Bellcrank to Aileron Pushrods by cutting two pieces of ST4130-035 X 1/2. I only was able to complete one unit, since I miscut the pushrod. I will have to order another from Vans.
Use a #40 drill to make four pilot holes in each end of both W-101BA Bellcrank to Aileron Push rods. Use a drill press to drill the holes and use a vee-block to support the push rod tube while drilling. Deburr the hole edges on the inside of the push rod tubes.
Insert an AN490-HT8P Threaded Rod End into the end of one of the W-101BA Bellcrank to Aileron Pushrods until the step on the threaded rod end rests on the end of the bellcrank to aileron pushrod. Using a #30 bit, match-drill the threaded rod end using the pilot holes in the bellcrank to aileron pushrod as drill guides. Repeat until threaded rod ends have been match-drilled to both ends of both bellcrank to aileron push rods. Mark the threaded rod ends so that they can be re-installed in the same position as when they were match-drilled. Remove the threaded rod ends from the bellcrank to aileron pushrods and deburr all holes in all parts. Prime the bellcrank to aileron push rod inside and out. Permanently install the threaded rod ends to the bellcrank to aileron pushrods.
Install rod end bearings and jam nuts into the AN490-HT8P Threaded Rod Ends. Theoretically the correct engagement of the rod end bearings yields a bearing center-to-bearing center length of 25 1/4 inches. The rod end bearing engagement may be adjusted during installation of the W-101B Bellcrank to Aileron Pushrod.