Ensure that the molded recess on all the tip fairings is square. Use a razor blade or file to remove any material that may have been left from the mold.
Trim the aft edge of the flange on the E-912 Elevator Tip Fairing to remove interference between the flange and the E-1023 Elevator Trailing Edge and allow the tip to be fully inserted into the end of the elevator. Trimming the width of the molded flange may also be required.
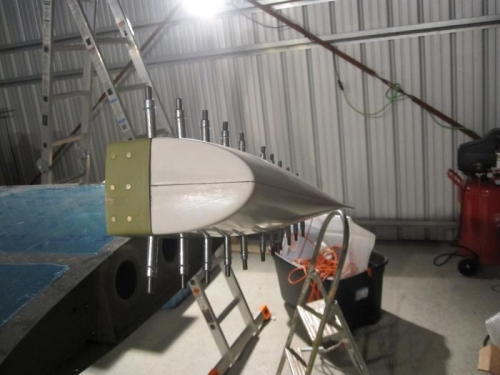
Insert the E-912 Elevator Tip Fairing into the end of the elevator. Push the fairing tightly towards the front and check that the aft end is aligned with the trailing edge of the elevator then match-drill #40 and cleco the elevator tip fairing using the holes in the E-1001A Top Elevator Skin, E-1001B Bottom Elevator Skin and E-913 Elevator Counterbalance Skin as a drill guides.
Trim the aft edge of the flange on the R-1009 Rudder Tip Fairing to remove interference between the flange and the R-1006 Rudder Trailing Edge and allow the tip to be fully inserted into the end of the rudder. Trimming the width of the molded flange may also be required.
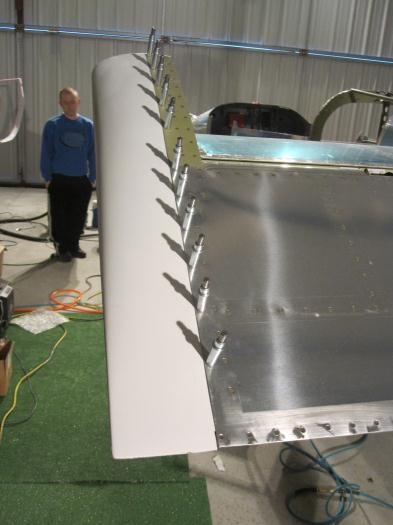
Insert the R-1009 Rudder Tip Fairing into the end of the rudder assembly. Push the fairing tightly towards the front and check that the aft end is aligned with the trailing edge of the rudder then match-drill #40 and cleco the rudder tip fairing using the holes in the R-1001 Rudder Skins as a drill guides. Work from front towards the trailing edge.
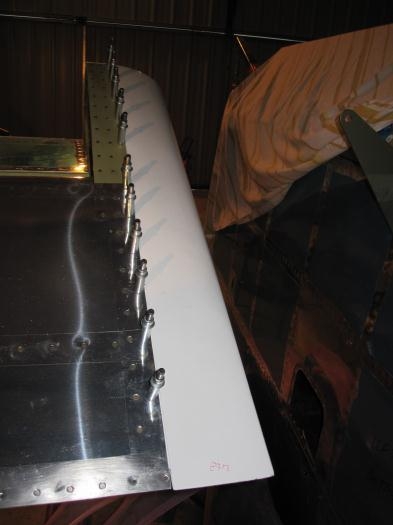
Cleco and rivet the R-1009 Rudder Tip Fairing onto the rudder assembly per the callouts