Cut and install a piece of Rubber Channel to create the F-1094C Gap Seal. This will allow extra material to account for material shrinkage over time and allow extra material so the ends can be trimmed to match the F-1094A Empennage Gap Cover.
Mark and trim the aft edge of the F-1094C Gap Seal parallel with the step in the F-1094A Empennage Gap Cover. The F-1094C Gap Seal has been created oversize to account for material shrinkage over time. Compress the gap seal onto the F-1094A Empennage Gap Cover leaving just enough material to properly trim the forward end of the gap seal. Mark and trim the forward edge of the gap seal. This will create F-1094C-L.
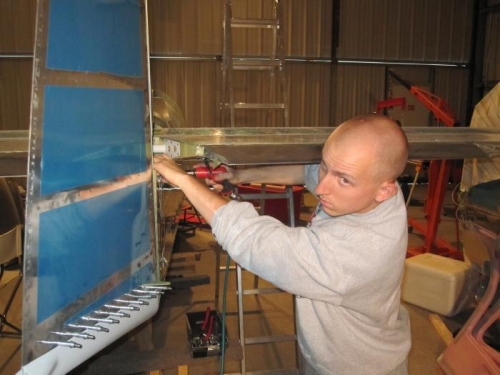
Install the F-824B Cover Plate on the tailcone assembly, using at least two of the four lower attach .holes. Cleco the F-1094A Gap Cover to the tailcone assembly (the holes were left open in the Section 10 Taileone Assembly).
Match-Drill #40 the aft two lower holes indicated in the F-1094A Empannage Gap Cover into the F-824PP Cover Plate and F-1032-L Tailcone Longeron Left.
Install the F-1094C-L Gap Seal onto the F-1094A Empennage Gap Cover. Trial fit this subassembly onto the tailcone assembly and trim away the lower inboard flange of the gap seal to clear the F-1 032-L Tallcone Longeron.