Install MD3614M Rod End Bearings and AN316-6 Jam Nuts into both elevators. Tighten jam nuts after achieving the rod end bearing engagement.
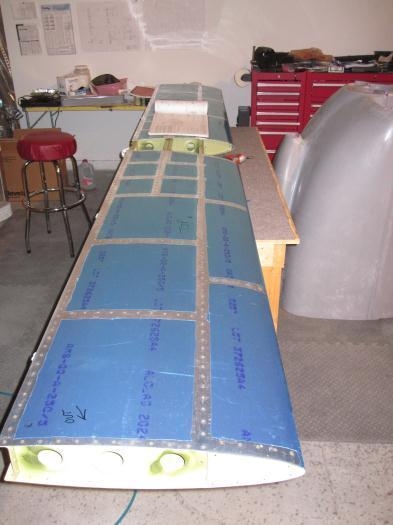
Attach the horizontal stabilizer to the workbench using four "drywall" type screws. Position the stabilizer on the workbench such that the tips hang over the edges of the workbench. The overhang is necessary so that the elevator counterbalance arms will clear. The screws are installed through the holes in the HS-1008 Horizontal Stabilizer Front Spar Attachment Brackets into the surface of the workbench. Rest the rear spar of the horizontal stabilizer on a spacer block to hold the horizontal stabilizer in it's correct orientation.
11-4, Step 1 & 2
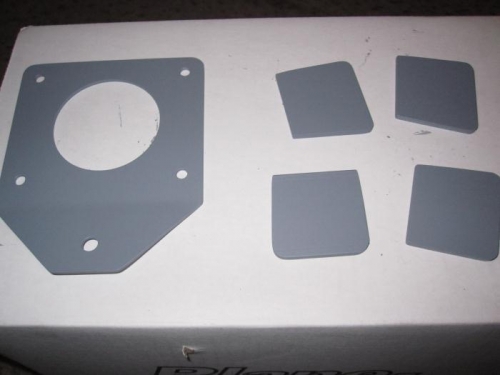
Final-drill 1/4" the vertical stabilizer attach hole in the VS-1 016 Vertical Stabilizer Front Spar Attach Bracket Final-Drill #12 the four holes common to the vertical stabilizer front spar attach bracket and the HS-1002 Front Spar. Deburr the holes and set the bracket aside for now.
Fabricate four F-1098 Shims from AB4-125X11/2 aluminum bar.
I primed both the attach bracket and the shims.
47-5, Step 1
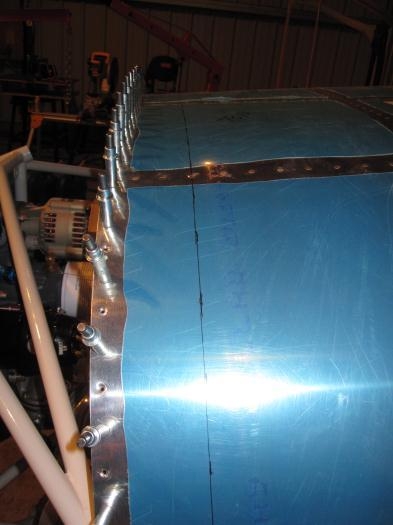
Carefully mark a line three inches back from the forward edge of the F-1069-L and -R Fwd Side Skins, F-1071 Fwd Fuse top Skin and F-1072 Fwd Fuse bottom Skin.