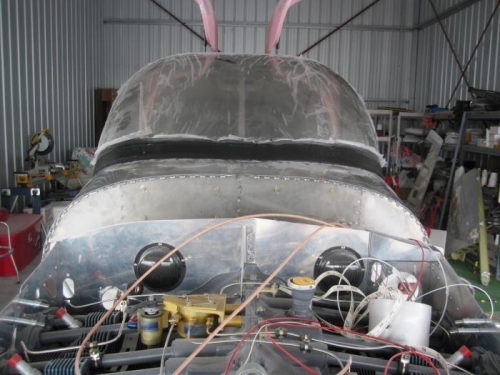
Apply a fillet of microballoons and epoxy to fill the gap between the edge of the C-100S Windscreen and the F-1071 Fwd Fuse Top Skin. This is the foundation upon which strips of glass cloth will be built-up to form the windscreen base fairing.
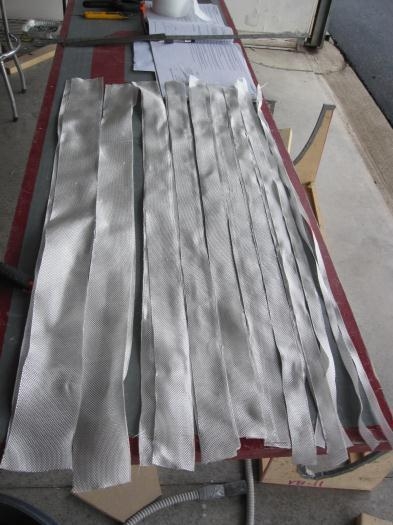
Cut strips of 9 oz/sq yd E-glass fabric 3 to 3 1/2 ft long. Cut two strips to each of the widths called-out. Cut parallel to the weave. Lay-Up the strips of E-glass fabric beginning with the narrowest strips and progressing to the widest.
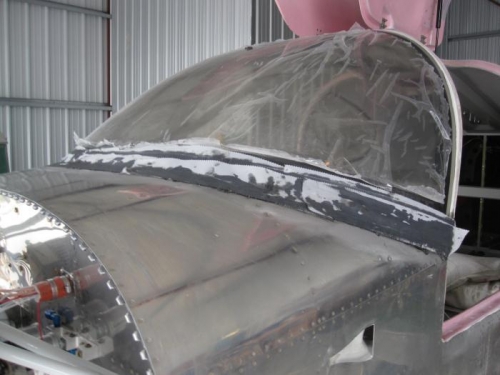
The first layer is centered on the base of the windscreen and each successive layer is centered on the layer beneath it. The final layer should butt to, but not overlap, the edge of the electrical tape on the C-1005 Windscreen.
Each layer will consist of two strips to reach the full length of the lower edge of the windscreen. The strips should be butted to each other with the butt joint of each layer located one to two inches away from the butt joint of the previous layer.
I dyed the epoxy black to make the view from inside look better.