
|

|
|
|
Bob Leffler's RV-10
|
Date: 7-6-2011
|
Number of Hours: 2.00
|
Manual Reference: FF2-14, FF2-15
|
Brief Description: Baffles #13
|
|
FF2-14, Steps 6, 7, 8, & 9
Match-Drill #12 the three holes in the bottom flanges of the CB-1001A Front Baffle into the CB-1002A Fwd Left Air Ramp. Cleco or temporarily fasten with AN3 hardware. Match-Drill #12 the hole in the forward flange of the CB-1OO1O Fwd Center Bracket into the CB-1001A and CB-1011A Front Baffles.
Remove the CB-1OO1A Front Baffle and deburr the holes and edges. Deburr the holes drilled in the CB-1002A Fwd Left Air Ramp, CB-1011A Front Baffle and CB-1001O Fwd Center Bracket.
Rivet three platenuts and the CB-1002H Fwd Mounted Prop Gov Gable Bracket to the CB-1002A Fwd Left Air Ramp. Rivet the VENT SCREEN 3X3 and VENT DL-03 Scat Tube
Attach the CB-1001A Front Baffle to the CB-1002A Fwd Left Air Ramp, CB-1001O Fwd Center Bracket and CB-1011A Front Baffle
FF2-15, Steps 1 & 2
Clamp the CB-1 003A Cylinder 2 Baffle to a table. Bend the CB-1003A Cylinder 2 Baffle using a wooden block (double check that you are creating the bend in the proper direction). Complete the bend by tapping along its length with a flush rivet set in a rivet gun turned down low. Adjust the final bend angle with a hand seamer to match the angle of the CB-1002A Fwd Left Air Ramp.
Well I guess I needed to triple check, since I bent it in the wrong direction. Ordered a replacement part from Vans, so the baffles are probably on hold for a week.
|
|
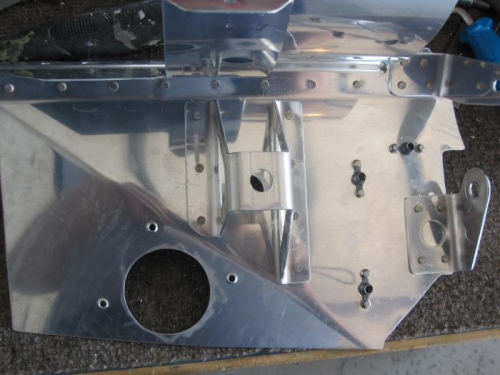
The underside of the left ramp
|
|
|
|
|
|
|
|
|
Copyright © 2001-2024 Matronics. All Rights Reserved.
|