Because of some irregularities in the length of my engine mount stubs, and the difference in thickness through which the top and bottom bolts pass, I had to vary my bolt lengths to avoid having excess grip length resulting in too many washers. In order to remove the old bolts, I had to remove the bolts holding the upper engine mount in place, which made for extra work. Once I got all the bolts in and confirmed that they were now the right length, I decided it was time to install the engine mount permanently. I sanded and cleaned the mounts in preparation for spray painting. I used PlastiKote Engine Enamel Ford Blue No. 224. By deciding to install the mount permanently, I was committing to a new arrangement in my garage, since the firewall had been right up to the garage door, allowing us to walk behind the tail. Now I would need to pull it back away from the garage door and angle the fuselage to make it all work. As a one man job it was fun, but I got it accomplished and everything is back to level. I even managed to pull it far enough back toward the door into the house that we can walk in front of the plane with the garage door down. Next step -- rudder pedals and riveting the front half of the fuselage. I finally have a green light to make some real progress in short order.
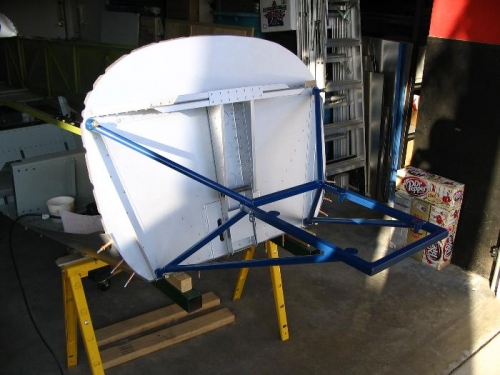
One engine mount installed
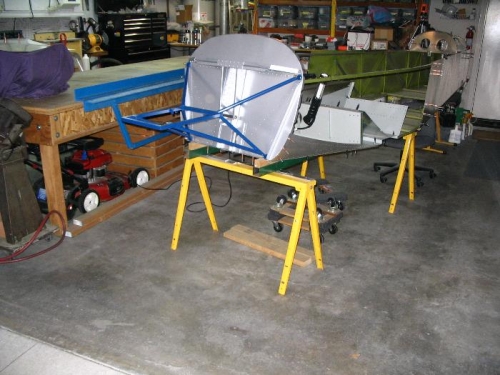
Project pushed back to allow engine mount to stay on
Picture to show the angle of my fuselage in the garage