Brief Description: Installed & tested left tank fuel sender
I probably re-read the photo guide four or five times before commiting myself to this process. I didn't find the guide to be exceptionally clear, so I really wanted to check and re-check my thinking. That's why this took 2 hours. The next tank should take 45 minutes. Before cutting into my fuel tank, I decided it was best to make the same sized hole in some scrap aluminum to be sure my fly cutter was set properly and that I knew how I would mount the sender through the hole. Once I was satisfied with that, I identified the location of the hole center on my tank. Using the fly cutter made a 59mm hole, which I deburred and smoothed. Next I flushed all debris out of the tank with air and water. After the tank was reasonably dry, I installed the sender. In order to secure the ground wire, I used an AMP crimp ring connector with 18 gauge wire and some heat shrink for more rigidity. Finally, I hooked up the ammeter and everything read perfectly. 10.4 ohms full and 69.2 ohms empty.
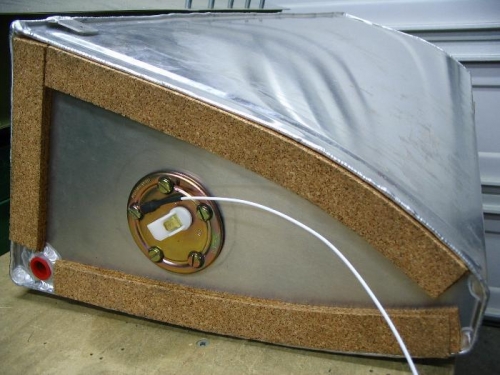
Ready to hook up
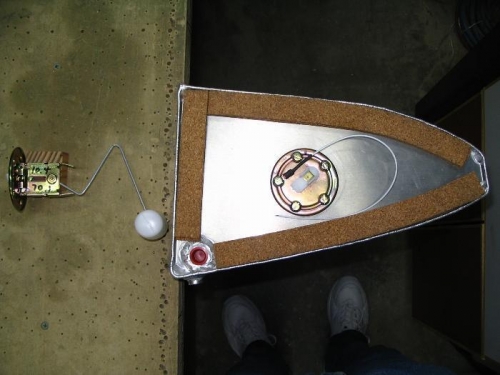
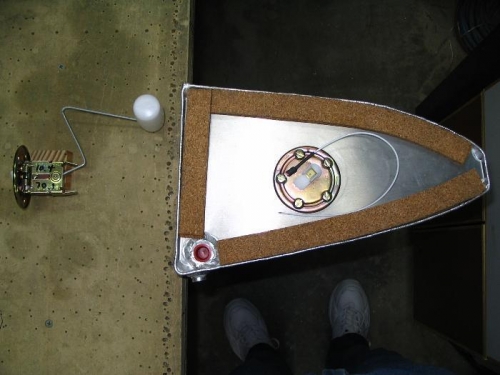
End view with profile of identical unit (float on empty)