
|

|
|
|
RV-7 Construction Log
|
Date: 9-1-2012
|
Number of Hours: 12.40
|
Manual Reference: pp 7-7, 7-8
|
Brief Description: Left Fuel Tank Complete! - Part 1
|
|
Today I finished the left fuel tank!
I started by spending several hours making sure the interior if the tank was clean. I removed as many of the sealant "strings" as I could, and made sure I got all the loose remnants out of the tank by using duct tape as a tack cloth. I then prepped the baffle by scuffing and cleaning all faying surfaces, including those with the rib flanges, the outside of the flanges that contact the skin, and aft face of the baffle where the z-brackets attach. I then went over all the rib flanges and skin rivet lines with blue paper towel and MEK to make sure all the sealant contact areas were CLEAN. I then dropped the baffle in place dry, and masked the skin aft of the baffle to keep sealant from interfering with the fit to the spar.
Starting with about 115 grams of mixed sealant, I laid down 3/16 beads just forward of the skin rivet holes, and just inside the end rib rivet holes. I laid the beads down with a 60 cc syringe from drugstore.com that comes with about a 5/32 nozzle. It took a couple of fillings of the syringe to get the beads down. Then, per instructons, I applied a thin layer of sealant around each rib hole before dropping the baffle in place.
I clecoed every other skin to baffle rivet hole, making sure the baffle holes were well aligned with the skin holes. At first I thought I might have a problem with alignment of the rib to baffle holes, but after getting the skin to baffle clecoed on both top and bottom, everything pretty much moved into place. After making sure the skin-baffle joint wasn't pillowing, I used my pneumatic squeezer with no-hole yoke to rivet the open holes all the way around, then removed the clecos and finished the skin to baffle joints. Karen was a great help in stabilizing the tank for this portion of the riveting.
(Continued next entry.)
|
|
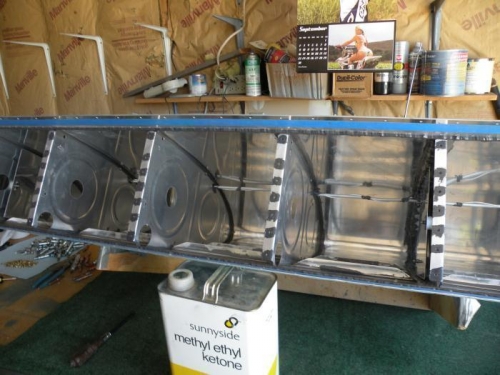
Baffle faying surfaces scuffed and cleaned.
|
|
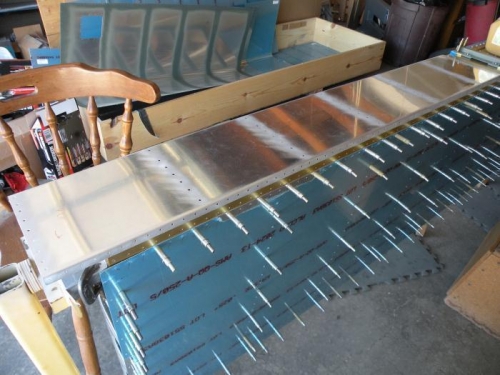
Sealant beads laid down, and sealant applied around rib rivet holes.
|
|
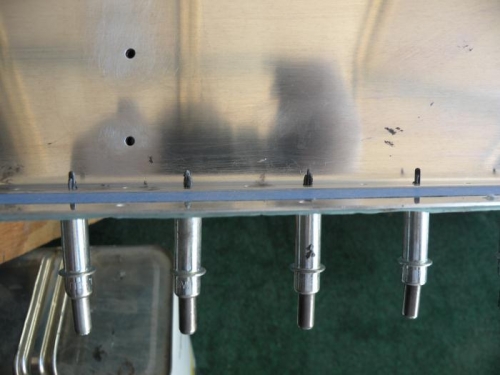
No pillowing with every other hole clecoed.
|
|
|
|
|
|
|
|
|
Copyright © 2001-2025 Matronics. All Rights Reserved.
|