
|

|
|
|
RV-7 Construction Log
|
Date: 6-8-2021
|
Number of Hours: 5.50
|
Manual Reference: Dwg 40
|
Brief Description: Cabin Frame
|
|
Completed 4 or 5 iterations trimming of the ends of the cabin frame so the installed height is 17-7/8. The next to last trim resulted in the correct height, but the frame was resting on the ends of the seat adjusting plate and lightly on the radius of the F-631C. I took another 1/16” off the aft inboard corners and just shimmed the same amount before drilling the screw holes. I also radiused the outboard edge to provide a little clearance from the bracket.
(Edit 6/12/21: When posting this log, I noticed what looks like a 1/16" thick angle in photo 1 to simulate the height of the longeron. It should have been 3/16" to simulate the thicknesses of the F-757 plate and the longeron. Now, with the brackets already drilled for the F-774 aft top skin, I can't shim up the differemce, and my canopy is going to be 1/8" lower than per plan. Hopefully this won't be a huge problem...)
To locate the screw holes precisely in the fore/aft direction I drew centerlines lined up with the existing rivet lines, and centered those in the existing holes in the F-631C brackets. I first drilled the aft holes, opening up the existing #30 holes with a #19 drill followed by a 3/16” reamer. My countersink cage lacked the depth to countersink for a #10 screw, so I had to freehand the last 0.015 or so of depth, but they all came out good.
After securing the aft screws and the bracket bolts, I clecoed the bottom of the forward end of the F-774 skin and match drilled #30 for the two forward bracket screws. I thought I had the #29 tap drill for the #8 screws but I couldn’t find one.
|
|
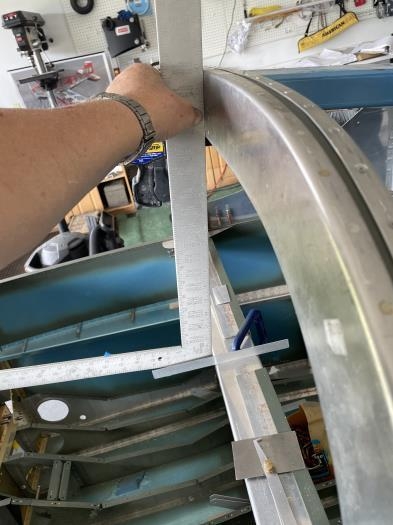
Measuring the height of the top of the cabin frame.
|
|
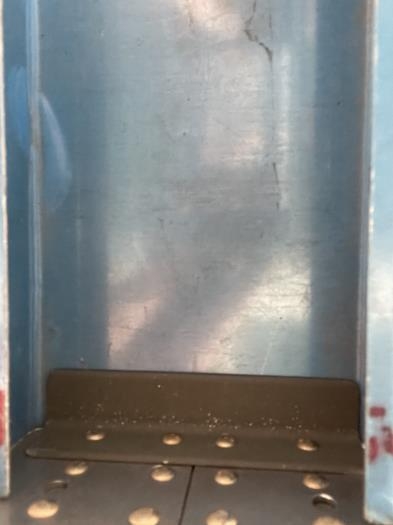
Fit of the F-732A channel to the F-732D angle.
|
|
|
|
|
|
|
|
|
Copyright © 2001-2024 Matronics. All Rights Reserved.
|