
|

|
|
|
RV-7 Construction Log
|
Date: 2-26-2012
|
Number of Hours: 7.00
|
Manual Reference: pp 6-11
|
Brief Description: Right Elevator Work - 1
|
|
I checked the fit of the right counterweight in the counterbalance skin and determined that it cannot be installed after riveting the skeleton, due to the #10 screw dimples in the forward end of the skin, so I went ahead and trimmed the counterweight per plans sheet 5. I started by drilling a hole to make the radius of the cutout. Measured from the full scale detail on the plans, the radius is 3/16". I clamped the weight in my machinist vise on my drill press and started with boelube and a 1/8" drill, and stepped up in size every 1/32 to 1/4", then up to 5/16. This was the largest bit I had below 3/8. It was very tedius work, as described earlier when drilling the attach holes.
Next, I clamped the weight edgewise between two pieces of 2x2 lumber to make it stable for running through my bandsaw longitudinally. In the beginning I wasn't liberal enough with the cutting oil (3-in-1 seemed to work well when the cut was kept wet) and got the blade stuck several times, and even caused it to jump the wheels once. I then made the crosscut with plenty of oil and no further problems. After removing the cutout piece, I used my vixen file to remove the saw marks, and a 3/8" round file to finish the radius. See photo 1 below.
Note the 3/8" x 1" void in Photo 2. This may be fortitous, as I plan to fly before paint and probably will not need the full weight of the trimmed counterweight.
Having the counterweight trimmed, it was time to insert the skeleton in the skin and rivet. I was able to reach most rivets with the pneumatic squeezer and no-hole yoke, but had to shoot and buck nine rivets on the top of the spar near the inbord end where the leading edge is widest. My no-hole yoke is only 2.5" deep (measuring from the center of the die) and wouldn't quite reach the spar. I was able to squeeze rivets all the way to the trailing edge on the top side of the root rib and the bottom side of the end rib, leaving a decision on two rivets as to whether to use blind rivets or some other method of setting solids.
|
|
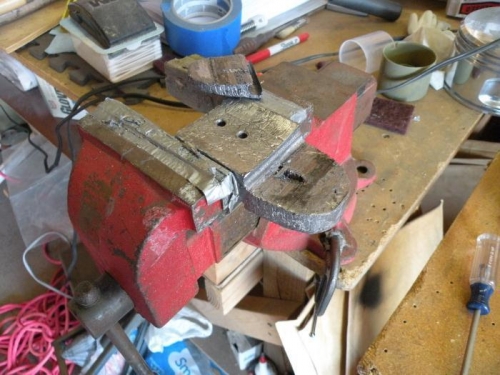
Weight and cutout immediately after sawing.
|
|
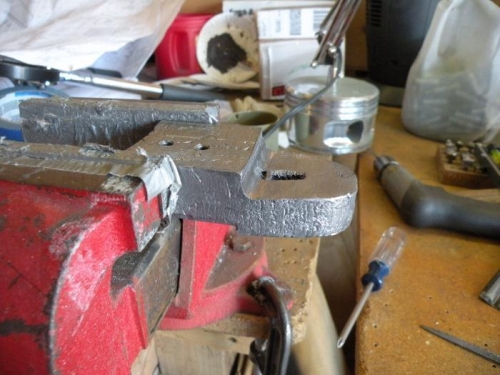
Counter weight after trimming and smoothing.
|
|
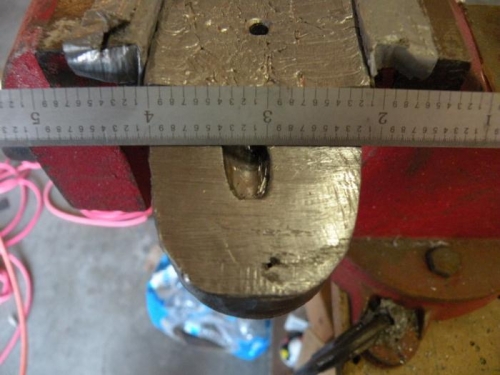
Void in counterweight is about 3/8" by 1".
|
|
|
|
|
|
|
|
|
Copyright © 2001-2025 Matronics. All Rights Reserved.
|