
|

|
|
|
RV-7 Construction Log
|
Date: 1-29-2012
|
Number of Hours: 5.90
|
Manual Reference: Section 6
|
Brief Description: Riveted Vertical Stabilizer - Part 1
|
|
My back seems to be much better today, so I started this session by drilling out and replacing 3 HS skin to rib rivets that were mis-set two days ago, due I believe, to the HS not being fixed to a stable work surface.
I spent the remainder of the session completing the riveting of the vertical stabilizer. One thing I've re-learned since starting to build again is that riveting goes MUCH better when the parts being riveted are fixed to a stable surface, and in a position where the riveting tools, whether it be a squeezer or gun and bar, can be used in a comfortable posiiton.I kind of took this fact for granted with the Rocket, as its parts were built in jigs. I did not build jigs for the RV-7 empennage, but I would have used the RV-4 jigs if I still had them. After chasing the HS all over the bench and floor a couple of days ago, I came up with a couple of better solutions for the VS.
Though photo 1 doesn't show it, I used spring clamps to secure the skeleton to the edge of the bench for riveting. After clecoing the skin to the front spar and ribs, I secured the assembly to the bench vertically as shown in Photo 2. Note the 2x4 at the bottom to support the main root rib. (If you build Chapter 1000-type workbenches, I recommend leaving about a 2-inch overhang all the way around for just such clamping.)
The vertical orientation of the VS allowed me to do the riveting from a very comfortable standing position, though I did need a footstool to finish the top 6-8 rivets on each side of the front spar. I had NO mis-set rivets using the gun with this setup.
|
|
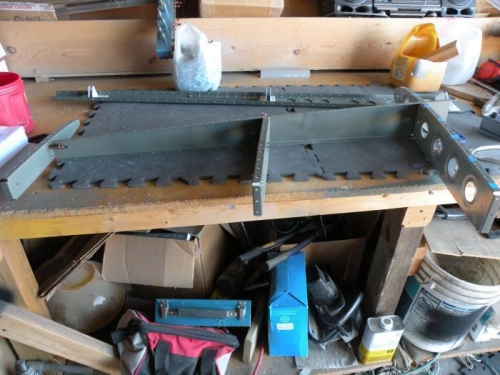
VS skeleton ready to rivet. (Yes I did remove the tape markers from the root rib before riveting.
|
|
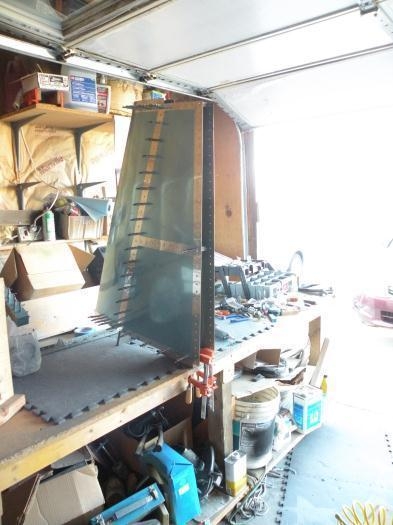
Skin clecoed to the front spar and ribs, ready to rivet.
|
|
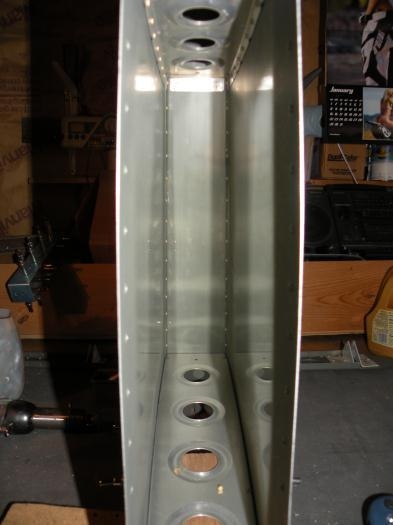
Skin riveted to lower front spar VS-702 and mid rib VS-707.
|
|
|
|
|
|
|
|
|
Copyright © 2001-2024 Matronics. All Rights Reserved.
|