
|

|
|
|
RV-7 Construction Log
|
Date: 1-7-2012
|
Number of Hours: 6.50
|
Manual Reference: Section 6
|
Brief Description: Today's Task 2 - Building the Rudder Skeleton
|
|
Started building the rudder skeleton.
Early in the process, you are instructed to fabricate a shim (R-917) to fit between the rudder horn (R-405PD) and spar (R-902) to account for the fact that the forward flange of the bottom rib (R-904) fits between the horn and spar, but is much shorter than the horn. There is a trim bundle, one piece of which presumably is to be used to fabricate this shim. I didn't know which piece should be used, and was afraid of using a piece that would be required elsewhere in the empennage, so I fabricated it out of a left over mis-drilled elevator rib from the Rocket Project.
Continuing with the rudder skeleton assembly was fairly straightforward until I got to the counterbalance skin (R-913). First of all, the forward side of the counterbalance skin is flat, and needs to fit tight to the forward edges of the tip rib (R-903) and the counterbalance rib (R-912), both of which are rounded. I tried to radius this section around a 2" piece of PVC pipe. That effort was only marginally successful, but close enough. I also had to trim back the forward edges of the side flanges of both ribs to allow the pre-punched holes in the skin to reach the pre-punched holes in the ribs.
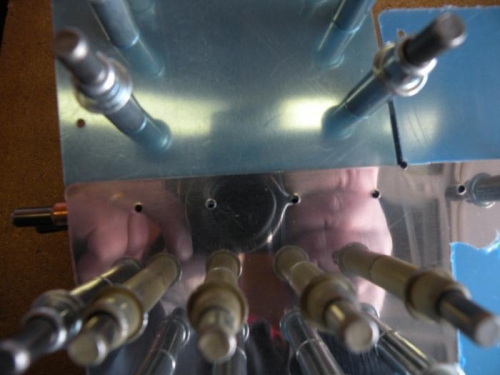
After getting the counterbalance skin clecoed to the ribs and to the left side of the spar (R-902), I noticed the skin attach holes on the right side misaligned by about half the diameter of the 3/32 holes. At this point I decided to go ahead and cleco on the skins (R-901R/L) to see if that would help the alignment issue. No such luck! I ended up correcting the misalignment by holding down on the aft end of the tip rib (R-903) and pushing down on the counterbalance assembly until the holes lined up. Karen came out to give me a hand with this operation (no third hand to insert clecos!).
To ensure alignnment was maintained during drilling, I removed one cleco at a time, final drilled the hole, then replaced the cleco before moving on to the next one. Drilling the rest of the skins to the skeleton went off withou
|
|
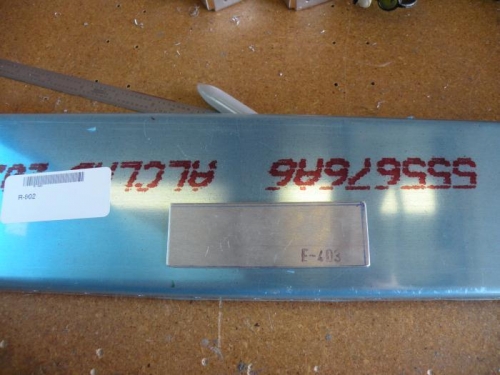
A piece of the Harmon Rocket Project will live on in the RV-7...
|
|
Counterbalace skin misalignment.
|
|
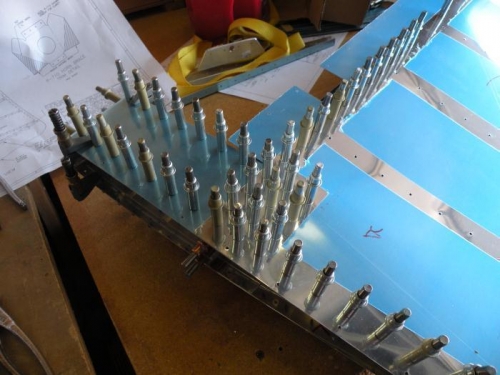
Rudder skeleton ready for drilling.
|
|
|
|
|
|
|
|
|
Copyright © 2001-2024 Matronics. All Rights Reserved.
|