Tonight I installed the aileron bellcrank and rigged the length of the W-818 bellcrank to aileron pushrod for the right wing.
I started by replacing Van's lower bellcrank bracket with the one from the roll servo mount kit. I had previously set the length of the bushing slightly longer than the bellcrank bore. Before inserting the bushing in the bellcrank, I lubricated it with molybdenum grease. After tightening the pivot bolt the bellcrank seemed to be binding. The bellcrank would still move up and down slightly on the bushing, verifying that the length was correct. I think the "problem" is that the fit of the bushing in the bellcrank is quite a bit tighter than the fit of the bolt in the bushing, and when I tightened the pivot bolt and clamped the bushing between the brackets, I could then feel the tight fit of the bushing in the bellcrank. I'm sure it will "wear in" over time.
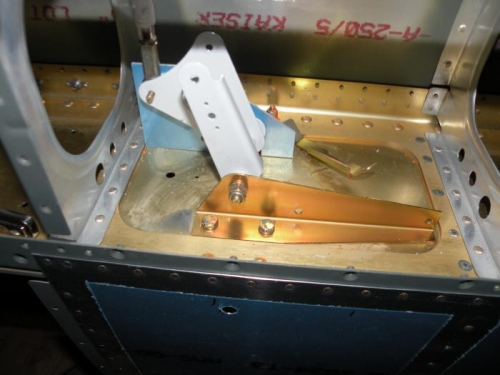
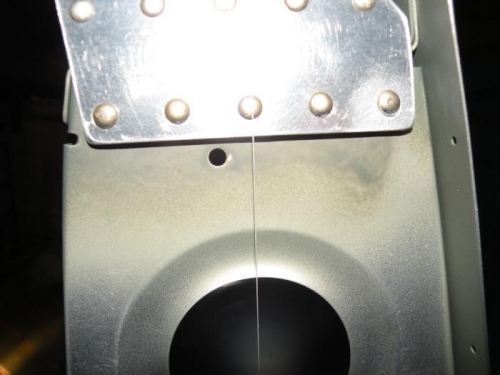
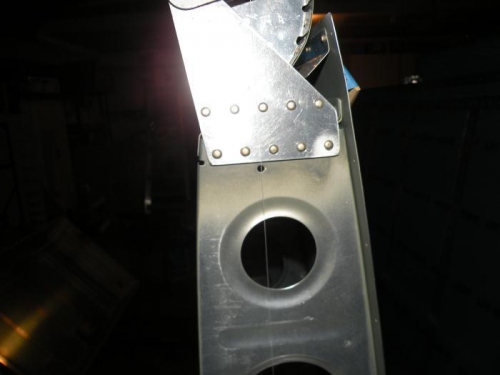
I then set the length of the W-818 to the 27-5/8 specified in the plans. With the bellcrank jigged in it's neutral position (photo 1), the aileron aligned slightly trailing edge high (photo 2). After a couple of iterations of lengthening the pushrod, I got the aileron perfectly aligned (photo 3). The total adjustment was backing off BOTH of the rod ends by 2-1/2 turns. The final length of the pusrod is slightly over 27-3/4. Checking the witness holes in the rod end bearings, I can still see the threads through both of them, indicating the thread engagement is adequate. I tightened both jam nuts and called it an evening.