Brief Description: Right Tank Repair & Conduit Attach.
When I checked the right tank back back on January 18, I found one leaking rivet about mid-span on the top side of the skin to baffle joint. The leak was out of the rivet head, but NOT the shop head or joint. Today I took advantage of the spring-like weather to take a first shot at repair. I drilled out the offending rivet, cleaned the sealant from top and bottom of the hole, and replaced the rivet. I dabbed a bit of sealant in the hole and dipped the new rivet in sealant before setting. I then cleaned the excess sealant from around the top side of the hole and re-encapsulated the shop head. I'll let this cure at least a week before retesting.
For future reference, the offending rivet was very nearly aligned spanwise with the 15th screw hole counting from the inboard end.
Since I had to break out the sealant anyway, I mixed about 44 grams to have enough to apply a fillet to the wing conduits where they pass through each of the ribs. Hopefully this will prevent vibration from chafing through the counduits. I didn't get a photo of this, but I'm sure one will show up sometime between now and finishing the wings.
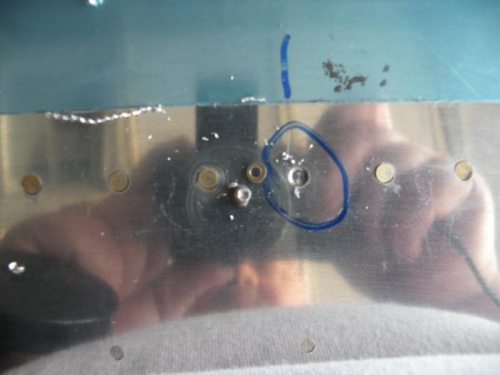
The offending rivet drilled out and cleaned the countersink with MEK.
I scraped the sealant away from the bottom side, then cleaned the area with MEK.