
|

|
|
|
RV-7 Construction Log
|
Date: 9-10-2012
|
Number of Hours: 1.40
|
Manual Reference: p 7-8
|
Brief Description: Left Wing
|
|
Just a few miscellaneous tasks tonight.
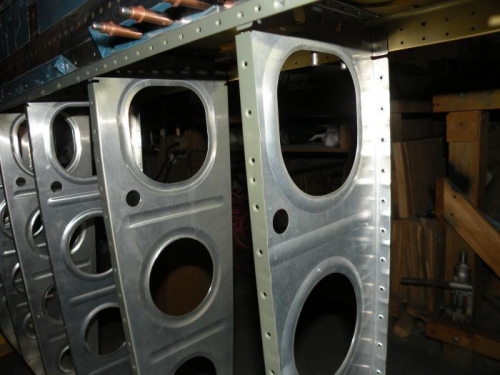
First, I dimpled the wing ribs. I used tank dies everywhere except the top sides of the first four inboard ribs, and both sides of the #8 rib (counting from inboard) where the main skins overlap. I used substucture dies in these areas because the doubler and skins that directly interface to these areas are dimpled with tank dies. I paid for the bad habit of holding the squeezer trigger out of its safety detent between dimples by inadvertently punching a new dimple in the bottom side of rib #9 (see photo 1). It's in the bottom of a flute so I'm not going to try to flatten it, but since edge distances aren't violated I'm thinking I can just deburr it on the back side and move on. I'll check with Van's to be sure.
Next, I dimpled the wing walk doubler, using tank dies so the skin above (dimpled with standard dies) will nest well. Also, like I did with the top and bottom of the inboard main rib, I marked the wing -fuselage intersection screw attach holes with tape to reduce the risk of dimpling them now. (Nothing I could do would PREVENT such a mistake ;O) )
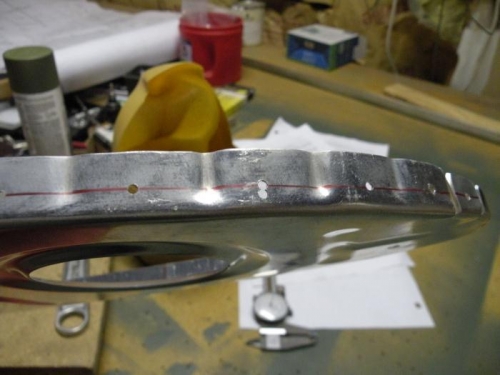
Lastly, I removed the W-408 inboard leading edge rib and joint plate I drilled yesterday, and deburred the skin and joint plate. I drilled the first hole before ABSOLUTELY making sure the rib was located correctly, with the results shown in photo 3. I'll ask Vans if I can deburr and ignore, but I'm not as sure of an affirmitave response as I am with the extra hole in the rib. The skin and joint plate are fine.
|
|
Today's OOPS.
|
|
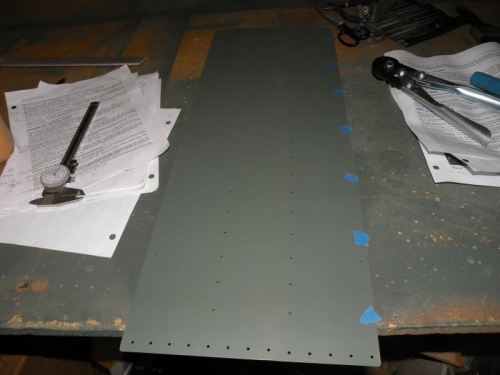
Don't dimple the wing fairing attach screw holes.
|
|
Yesterday's OOPS.
|
|
|
|
|
|
|
|
|
Copyright © 2001-2024 Matronics. All Rights Reserved.
|