
|

|
|
|
RV-7 Construction Log
|
Date: 9-1-2012
|
Number of Hours: 0.00
|
Manual Reference: pp 7-7, 7-8
|
Brief Description: Left Fuel Tank Complete! - Part 2
|
|
Next I clecoed the baffle to the interior ribs in every other hole. I had to use a pin punch to maneuver the parts slightly so that the AD-41H rivets would go in the outer holes. After setting the top and bottom baffle to rib rivets, I went back and attached the z-brackets after cleaning and applying a thin layer of sealant around the holes in both the baffle and the brackets. I had earlier numbered the brackets on the inboard face of the web so I could properly orient them on installaton. After clecoing but before setting rivets, I cross-checked the bracket orientation against the plans; all good. Using the "Checkoway" method of drilling the brackets, along with the use of a "POP" brand rivet puller, I had 1/32 to 1/16 inch clearance between the head of the tool and the z-bracket web. After setting all of the pulled rivets, their heads got encapsulated with sealant.
On the baffle to end rib rivets, I couldn't get the pneumatic squeezer adjusted to properly set the 1/8 rivets, so I shot and bucked these, no problem. For the inboard z-bracket I would have had to do this anyway, due to the orientation of the flange.
I had planned on going down to Paul Rosales' movie night, but by the time I got to this point, it was too late, so I just decided to go ahead and finish the tank. I mixed up a small batch of sealant and encapsulated all skin to baffle rivet shop heads, and laid a thin layer of sealant along the baffle to skin seam before removing the making tape. I then encapsulated the end rib rivets and filleted the thick beads of sealant in the corners of the tank.
I then scuffed and cleaned the faying surfaces of the tank access cover and interior end rib where the cover attaches. I spread a liberal layer of sealant on both parts, and attached the cover using torx-head screws from McMaster-Carr instead of the supplied phillips screws.
(Continued next entry.)
|
|
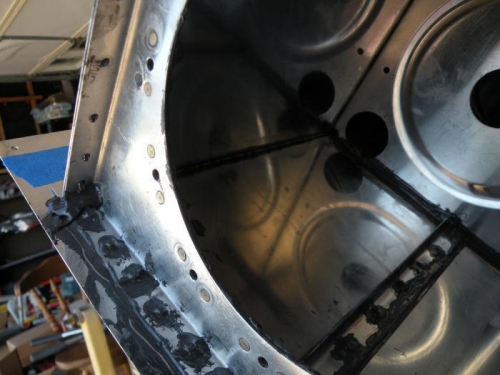
Well-formed bead fillets inside tank.
|
|
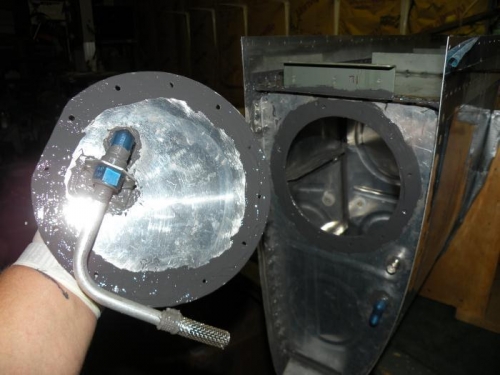
Access cover ready for installation.
|
|
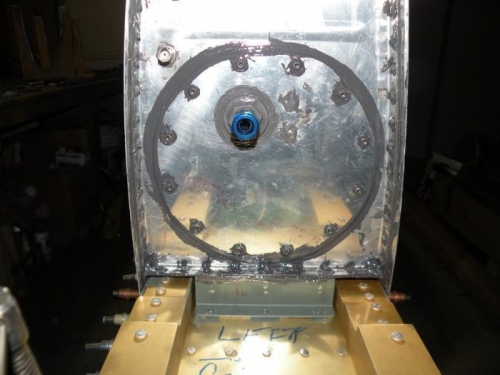
Cover attached with torx-head screws, and tank mounted on spar.
|
|
|
|
|
|
|
|
|
Copyright © 2001-2024 Matronics. All Rights Reserved.
|