I was setting rivets for the entire day and managed to get 95% of them all done. I was originally planning on using a large 24"x24" back rivet plate but decided it was to difficult to move around under the heavy wing spar and top skin. I purchaed the back rivet bucking bar and entended back rivet set from Cleavland Aircraft Tool. This went very smoothly despite a few "oopsies".
I think there were 200 approx rivets for entire top skins. Seems like a lot, but once you get in a groove they go really quick. There were a few rivets more difficult to set vs others. From under the top skin you have to get the rivets under the j channel lip. The back rivet set does not sit flat. So I used the original mushroom set and angled edge of tungsen bucking bar to set these. In my opinion these were the most difficult top skin rivets to set. I had the PSI real low on 3x rivet gun to aviod any dents or smilies:-) I also had to use this method for the rear spar rivets that had the doubler plates attached to the aft edge. Again, the back rivet set would not sit perpindicular to the skin. The areas of rear spar with no doubler were done with back rivet set.
I experienced a handful of rivets which did not sit flat before riveting. So I went back and touch up drilled and debured the hole slightly more. This was most likely due to the primer causing a smaller hole??
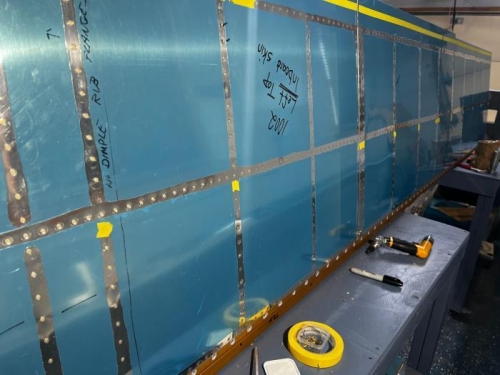
Before riveting began, I clekoed approx every third hole. I then used 3M masking tape to hold the rivets in place.
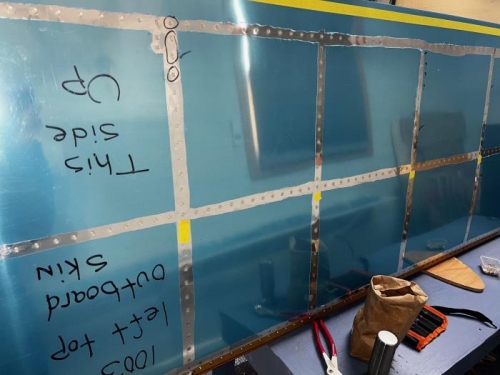
PLANS STATE START RIVETING IN CENTER OF EACH SKIN working outward to keep skin as tight as possible. I used an H pattern as I completed the task. My hands were killing me after the day. I riveted the skin overlap last.
LOOKING GREAT!!!
I still have a few rivets to finish and then its off to the right wing. Hopefully I will have feeling back into my hands next week so I can repeat this process for right side. You can see the yellow masking tape holding the unset rivets and the oopsies are circled with a marker. I