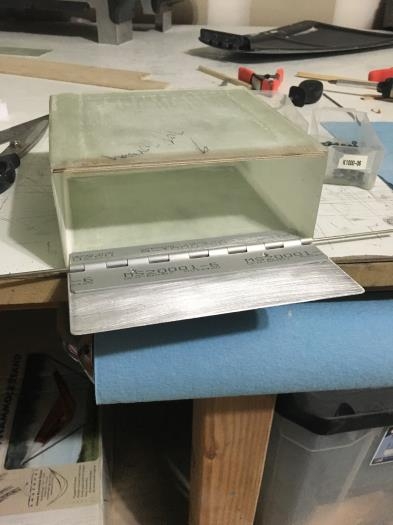
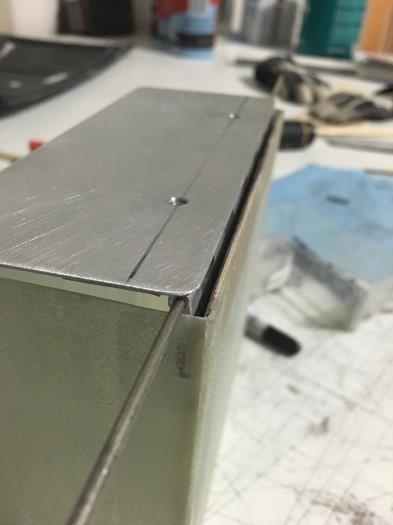
The door was trimmed and fit several times to get it just right. One of the things I really didn't want was to see the hinge from the outside. I was able to conceal it by installing the hinge raised from the floor of the box and at an angle that would allow the bottom of the door to swing "into" a recess at the bottom. See pics 3 and 4. This wasn't my original plan but it worked out perfectly! I then drilled small holes in the hinge to absorb epoxy as this would be a permanent installation mating the box and door. Removing the door would simply require pulling the hinge out. Easy enough. After finalizing the position of the door I superglued it to the hinge half, then layed up 1 ply BID over the back side of the door and hinge. I then added 1 ply bid over the other hinge half to the inside of the box as well. The final task was to decide How I would latch the door. I didn't want an actual latch or spring system so I opted for 2 small helper magnets on the upper corners. The inside of the door has 2 small strips of refrigertor magnets bonded under the 1 ply BID. I "Hope" this provides enough staying power. We shall see. Big Idea behind the door is knowing my wallet, keys and "stuff" won't fly out during maneuvers. This also means the inside of the box may take a beating. I'm leaning toward the hammered paint for the inside due to it's obvious hard finish. Which color? hmmm. Maybe Bronze?? :) We Shalll see.