Brief Description: Assembling the plenums and prep for paint
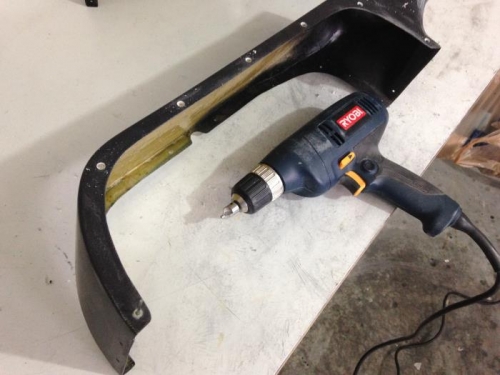
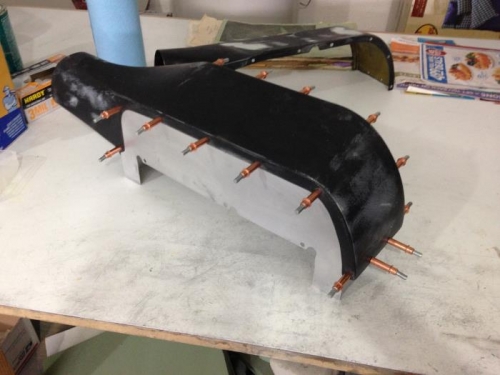
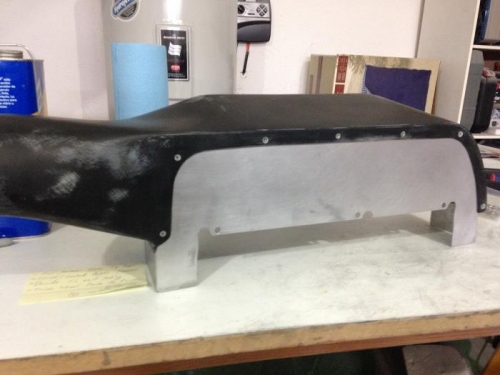
It's time to get these plenums done. I started by looking at the contour of the plenum glass and came to the conclusion that I "could" spend another whole day, filling and sanding to perfection, BUT I don't even know if this will be the final configuration. Test flying them may prove that changes will be needed. Instead I decided that I could easily give them a GREAT finish with a hammered paint and that would conceal all the imperfections nicely. Later if I decide to ditch the hammered paint, it will be an ez job to sand off. Let's get to work! I first wet sanded them both with a low grit sanding sponge to rid of any obvious and deep scratches that will show through the hammered paint. I then used a countersink to prep each hole for flush rivets. After riveting both plenums to the aluminum I filled each rivet head and recess with filler then sanded them down flush. The outside of these plenums are now ready for final paint. Finally, I ran a bead of Red Hi Temp Silicone along the INSIDE edges to create a complete seal so no air can escape. This stuff stinks too! After letting the silicone cure overnight, I will be able to start painting these bad boys and calling them complete!