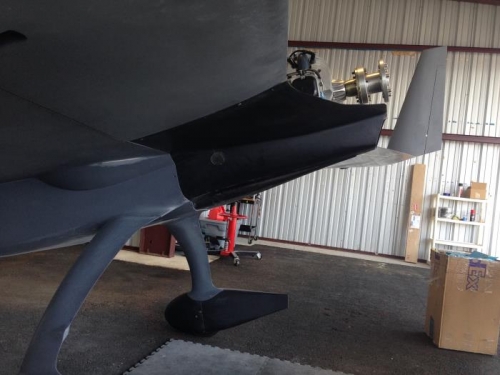
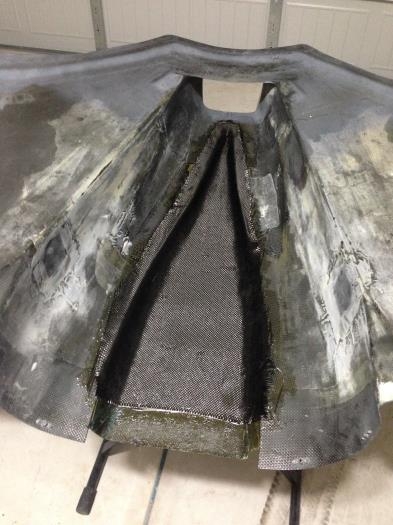
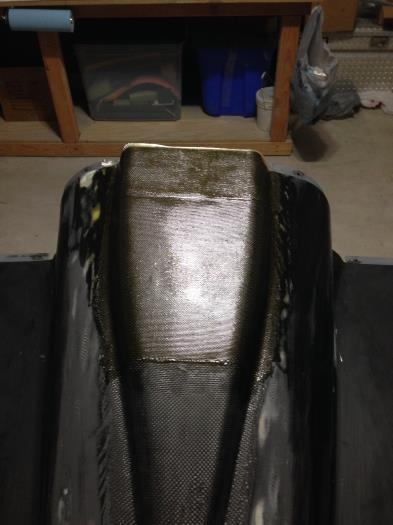
I can officially say that this is my favorite lower cowling shape to date! The cowl was dry fit onto the airframe before removing the foam to confirm that nothing had drastically changed. Good to go. I then brought it home and removed the Foam and and Glass on the inside. Man there was some HEAVY filler down there! See ya!!!! I then spread some flox along the corner to ensure a strong joint between the new and old layps. Then all but 3" of the inside got 1 ply Carbon. I left the forward part unglassed because when I trial fitted the cowl I noticed that I really needed to add the thickness of the Cowling on the outside for that section. Sanded the foam down a hair too much I guess. So after the inside was laid up, I flipped her over and laid up 2 plies UNI SPANWISE to stiffin things up a bit. Also, note that I added the final ply to the forward 3" where the Carbon was left out. Finally, knowing that this middle section was pretty flimsy, I braced the cowling in a way that will allow it to cure nice and straight. You can see the distortion in Pic 3 that would have caused problems had I left it like that. -Good Day!