Brief Description: Fastener holes located and lips begin
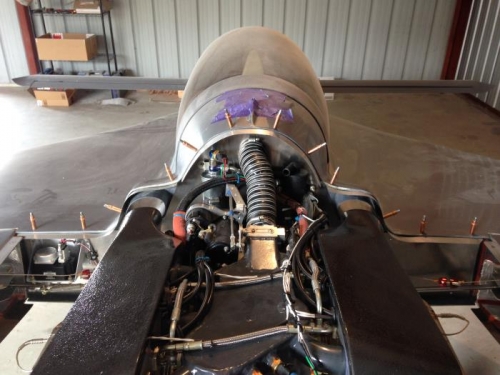
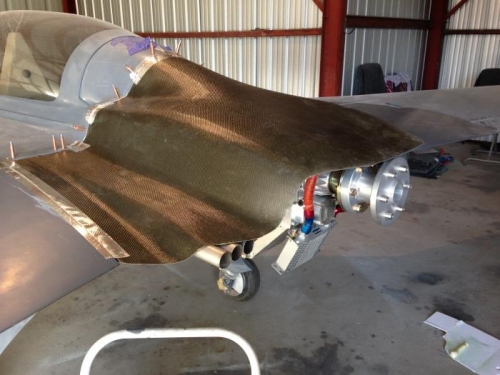
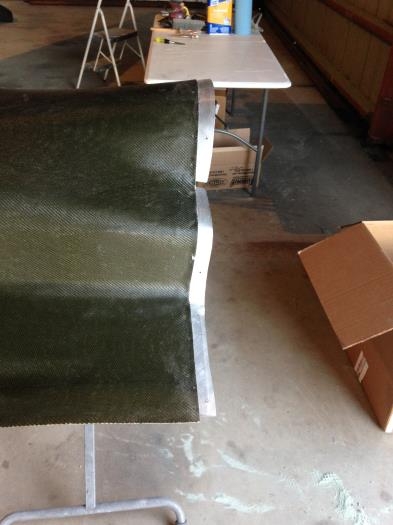
It took a LOT of time to trim the cowling for a somewhat acceptable fit. Little here, little there until it ended up in a good place. I then mapped all my fastener locations and settled on 4.75" apart on the wings and 4" on the fuselage. I then attached thin aluminum strips with clecos that would serve as the guide for my forward cowling lip. I ended up using 30 minute epoxy injected in several locations to hold the aluminum in place, then carefully pulled the cowling off and set it aside. Tomorrow The TOP of the cowling will get 1 ply UNI. This will ONLY serve as a GLASS guide to the proceeding 4 to 5 plies Carbon underneath. The good news is that this cowling is badass! I've got really good clearances all around the engine and after trimming the trailing edge AND Pipes, the fit and finish will be fantastic. Tomorrow while the lip cures, I'll be tackling a small delam on the right wing and starting the bottom cowling contours. UGH!!!!!!!!!!!!!!!! :D