Brief Description: Rudder bellhorn and conduit work
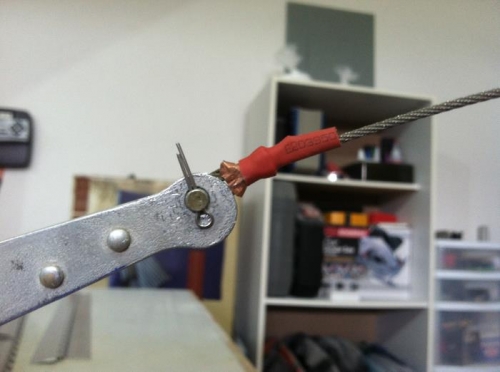
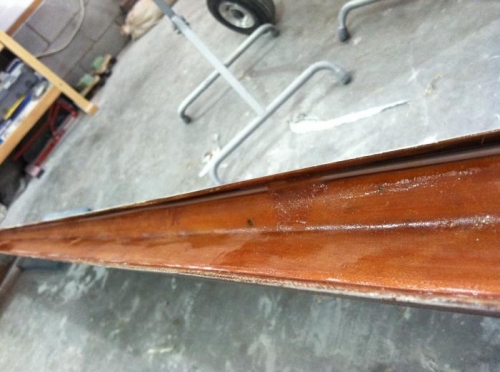
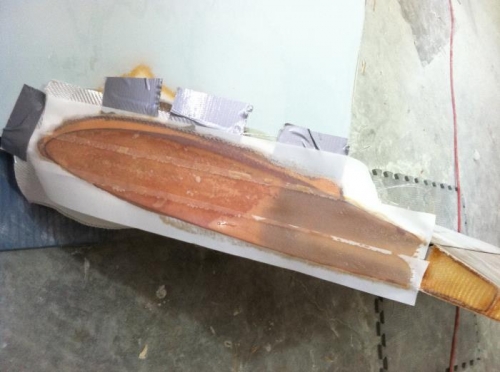
This one was a little tricky. The way I cut off my lower winglets did not leave any material for a plans installation of the hidden bellhorns. This wasn't a problem it just meant that I had like 1/32" clearance from the new underskin and the hidden bellhorn. NO room for foam. A lot of guys leave a little 1" winglet on the bottom for this reason but I REALLY want a smooth underside to my wings for the air to just glide off of. The solution was to lay up 1 ply of BID over the access hole, pull it tight with tape and peel ply it during cure. This will create a flat surface from which I can lay up 1 or 2 more plies after cure in order to gain some rigidity to the cover. Still I don't like knowing there will be a "soft spot" but it won't be any different that any other hatch cover that is found in several other places on the aircraft. Another thing I can do if for some reason this doesn't work out is to flox a piece of aluminum or plywood to the underside and layup my bid over that for rigidity. I don't know, after adding a couple more plies we'll see how she feels. Now that my new rear spar is in, routing the rudder conduit was easy and much more hidden than before. I floxed and BID taped her in and the rudder movement is now a smooth as ball bearing. Feels great!