Brief Description: iLevil and battery bracket install
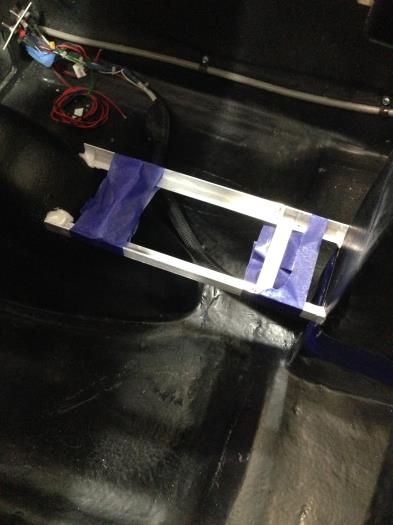
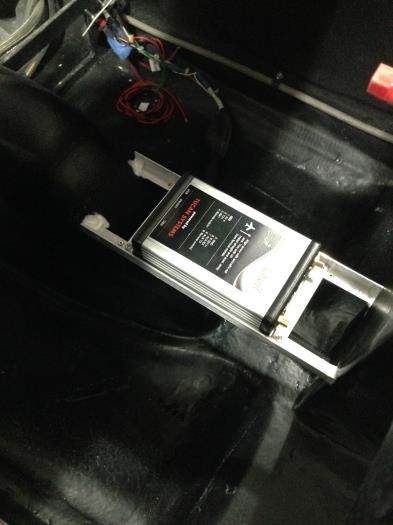
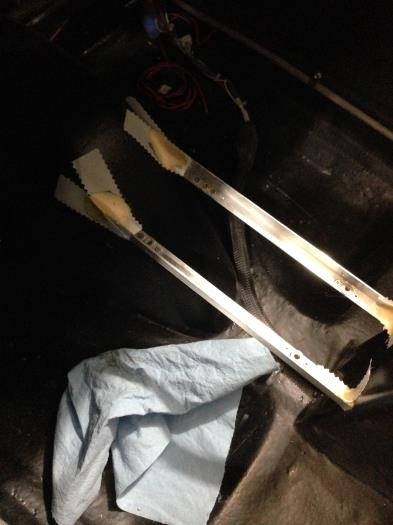
Today was a day of precision. I had to determine a perfectly level position in all 3 axis for the iLevil mount. This wasn't very easy especially when the airplane wasn't sitting level. I had to zero out my iphones clinometer app and use it as reference to the longerons. I decided it would be best to level the bracket rails alone and then if adjustments have to be made later I will add washers to the actual unit. In the event that I remove the iLevil and use a different adahars I will know that the mounting rails are dead on. After the 5 min micro cured I overlayed it with ezpoxy flox for the best strength. I also notched out two L shaped cuts in F22 for the rails to sit inside of. MUCH better than just tacked on to it. On to the nose gear backup battery. This is a small 12V used ONLY in emergencies when the main power fails and I need to extend my nose gear to land. I've selected that it will be located where the plans puts the main battery attached to an aluminum plate that is floxed onto the base. The battery will be attached with double sided Velco and then strapped down using 2 non-conductive zip ties. No place I want a fire to start. To install the plate I drilled several holes into the base and filled them with wet flox, then a bead of flox sat on top and the plate was pushed into place. This will all be enclosed under the actuator cover. I also went ahead and painted the plate as it's not in a place that I want to have to paint later on. Good day :)