Brief Description: Battery brackets, Master relay and Ground busses
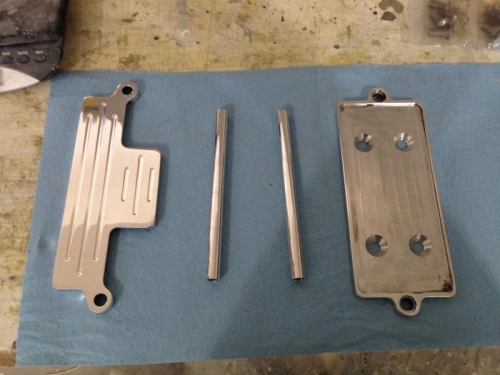
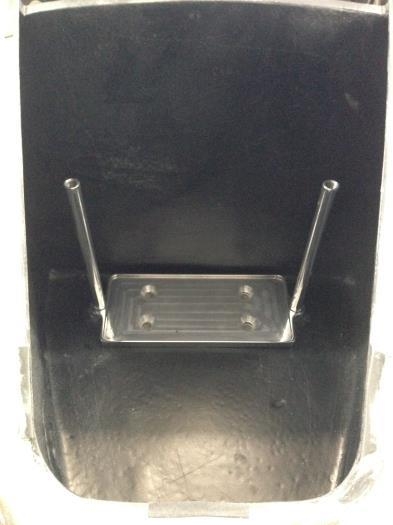
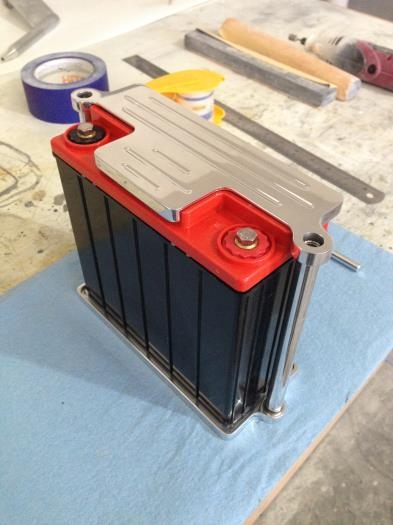
After cutting a gaping hole in the nose for the landing light I thought it would be fitting to start tackling the other items in the nose. This means hardpoints and brackets. First is the Battery. I bought a really nice billet aluminum battery bracket made just for the PC680 I have. The mounting screws are MASSIVE so mounting the base will take some creative thinking. After assembling the bracket and drilling out the floor to give way to the mounting bolts I moved on to the master relay and found it to be perfectly located right above the battery. This is one place that won't see water in any case as it sits directly under the hatch and high up. I found that simply drilling a hole large enough to accept a threaded brass insert is the fastest and cleanest way to make a hardpoint for anything that doesn't carry a heavy load. Just a little 5 minute and it's in there for good. Finally, I did the same for the main ground buss. After installing these 3 units I started planning my electrical highway and found that 2 access holes to the battery compartment of ample size should allow all Power and Ground connections though. I've decided that the main power for the airplane will travel down the left side and the ground will be on the right. This also led to where I installed the firewall ground buss hardpoints. This will be taken into account when mounting all the electrical doodads. I don't want a snake pit of fire hazard wiring that would scare Indiana Jones, but instead a neat, practical highway of wires. More to come!