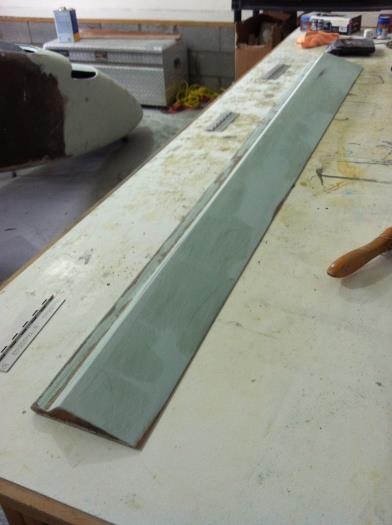
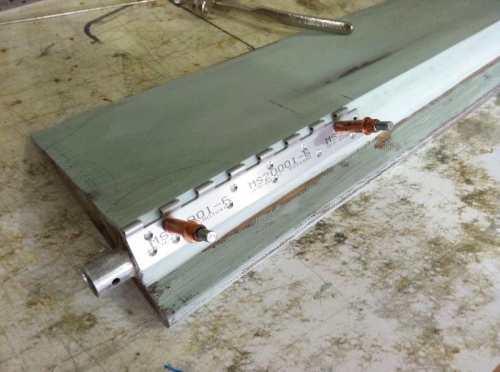
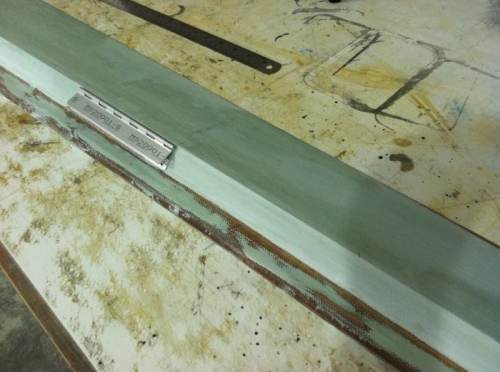
Crazy how much time it takes to fill and sand. Half the day was just doing that. I decided to fill so that I could get a good idea how the aileron would balance in order to determine how much lead I would need to add. I'm sure Rutan finished his ailerons with hardly any fill primer or paint. Like 1 coat of paint. This is also why some guys have gone to 7/16" steel rod insteal of 3/8". To note: quite a bit of filler was needed due to the high spots created in lapping glass that was part of the reconstruction. Right now it is far from balanced and already 6lbs. If 36 yards of lead doesn't do it, I will have to sand all the filler off and use really dry micro instead. This also makes me wonder how heavy my right wing is now that it's finished. I'm tempted to weigh it. But then again I'm 140lbs and so some heavy filler won't be the death of the airplane when I'm in it. :D To continue, I drilled and finished all the hinge work adding a few extra rivet locations. I then cut the wing skin to accept the hinge halves and drilled the holes. Now the aileron is mounted and the wing is ready for filler.
I got married 3 years ago in November and my wife and I never took a honeymoon, so I cleaned the garage up real well and will be taking her to Turks and Caicos for a week. It will be a nice RR since I just broke the 1300 hour mark tonight. I'll come back refreshed, tan, and ready to fill.