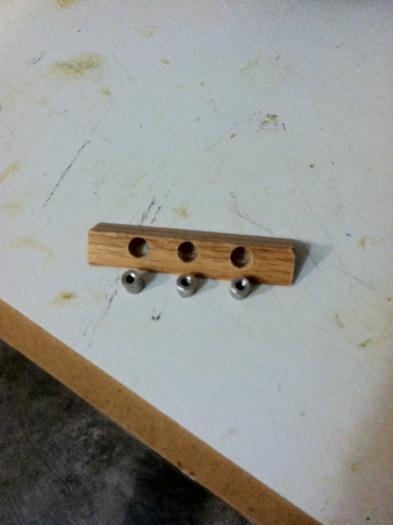
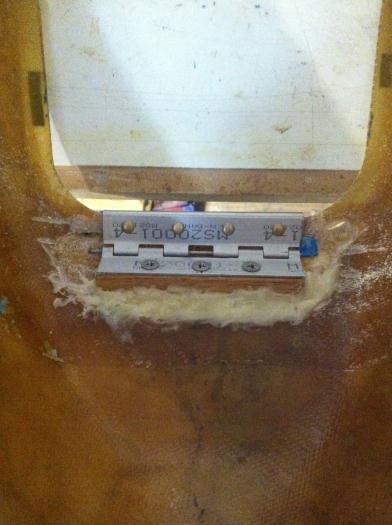
The New Hinge location required the actual hinge pin to be as close as possible to the upper nose skin. In fact the piano wire on both ends rests on the upper skin. This allows proper clearance for the hatch door...or so I hope. The hinge was positioned on triangle stock that was bored out to receive the 3 threaded inserts from Cozy Girls. Awesome stuff I might add...I'll be ordering a bunch more. The advantage to this new position is it allows a tighter spring position (helps open the door) when the hatch is closed and angles the flush screws forward which will be much easier to access in the future.Plus the threaded inserts are MUCH easier to thread into unlike the nutplates that were reversed. So like I said in the last post....mistakes can lead to opportunity!
The second half of the night was adding the AWESOME Evercoat Z-Grip Filler to the underside of the hatch door. I decided to go ahead with this because the thickness of filler, primer, and paint will all change how the door sits on the hatch lip, raising it. My goal is to have both the lip and underside door painted and finished before finishing the outside of the nose. This way I will know that the closed position will not change after finishing the interior.