Brief Description: Installing the strut and actuator
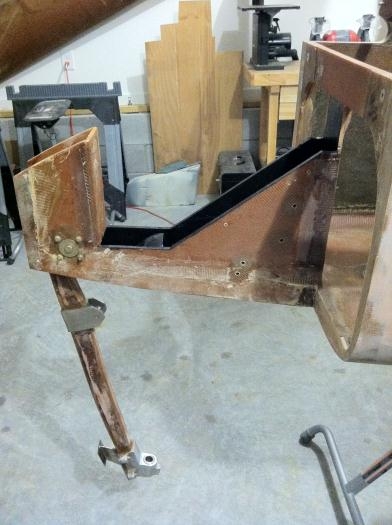
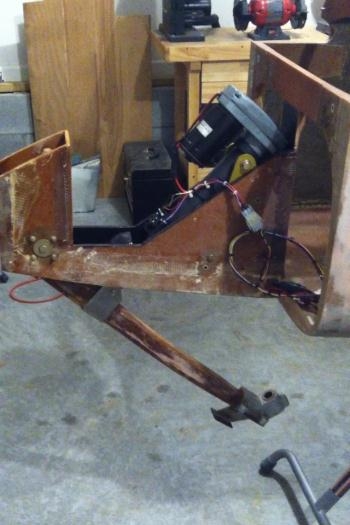
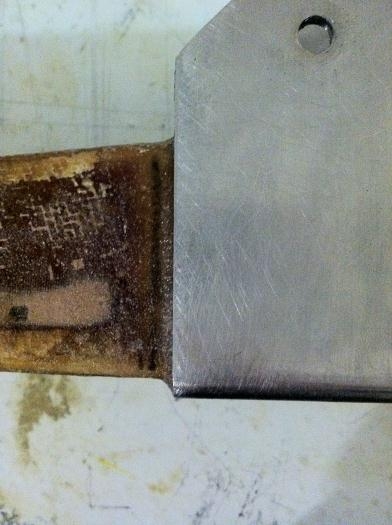
I installed the strut and actuator for a trial fit and examination of the retract/extension measurments. Surprisingly I had to adjust the end point switches to their maximum throws and even at that didn't offer enough throw. I remembered the instructions making it clear that from mkng6 to mkng3 a distance of 6.71" had to be darn near exact or problems would arise. So I checked my distance and I was off by 1/8". This small amount equaled a whopping 1.5" of decreased throw! So I decided to remove the mkng3 and reposition it. Not a hard task but one that reminded me of how important it is to take the time and do things right the FIRST time. After Cure I will check for correct throws again. Note: Some builders have complained that with this nose lift, they have had to move their hard points forward of the original plans in order to obtain full retract and extended positions. This is contrary to what Jack says in his directions for the lift. I believe that if the builder makes his nose section accurate with the plans, then simply adjusting the end point switches will allow the use of the original hard points with sufficient throw. I'll report on this later...