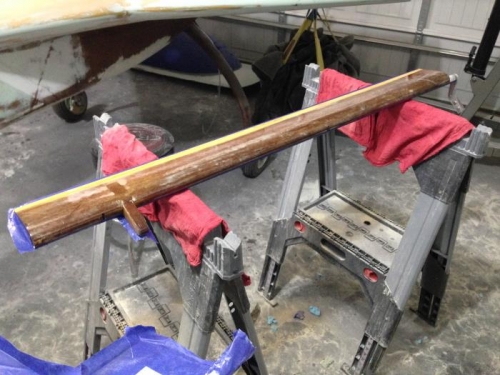
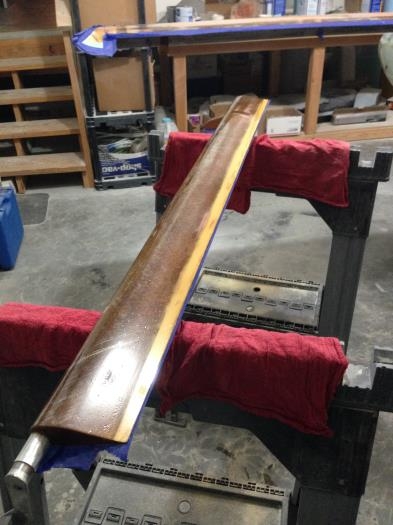
I haven't paid much attention to the elevators until now which means they've been ignored for over 2 years. how sad...:) My intent is to have the entire airframe ready for primer at the same time so I only have to prep the garage once for all primer work. I noticed that the contour of the elevator's top skin trailing edge was straight rather than concave like in the plans which meant sloppy work, however after I starting block sanding I realized that there was a substantial amount of filler on the trailing edge. GREAT NEWS! this meant I could properly contour the shape while removing a LOT of weight and bad CG filler. In fact the elevator went from weighing 3 lbs to 2.8lbs just from sanding off the filler. I also went back and forth about skim coating for weight reasons but I REALLY like the idea of sealing everything under a solid coat of epoxy even if it's razor thin after sanding. I went for it and worse case I'll sand it all off in the event that the balance or weight is off but as is, things are looking really good in that department. Tomorrow the bottom skin will get skimmed as well. After skimming round 1 is finished, I will spot fill any obvious low spots and skim 1 more time before storing it away. Again the idea is leaving an unsanded layer of skim up until it's time to sand and prime. This protects the part.