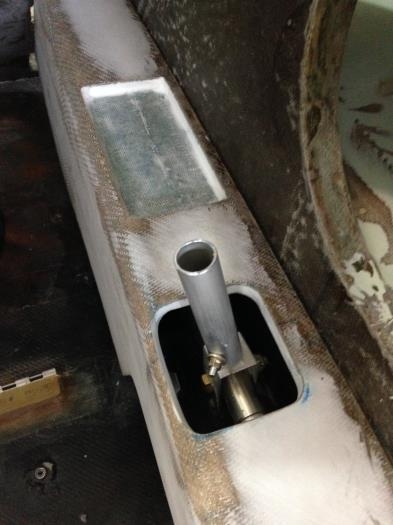
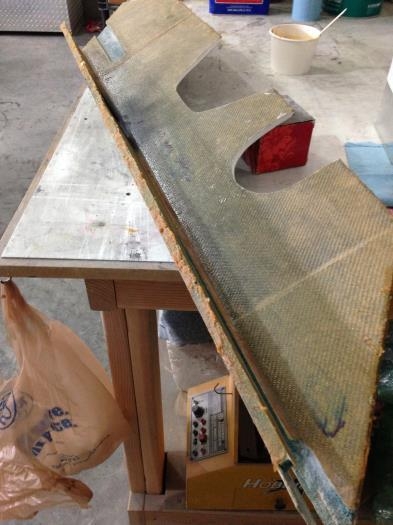
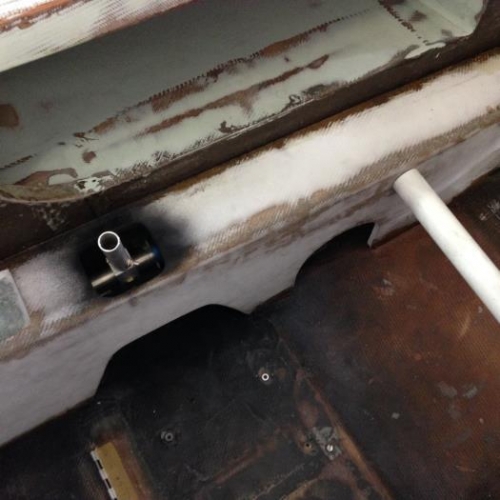
The passengers right console is in. I first had to re-verify that the stick grip had enough clearance prior to the install. All is well. In fact I took this time as well, to drill a #10 hole into the stick grip tubing and into the control system. I opted for the bolt to install at a 45 degree angle to the plans because it offered the best clearances and is still ez to access if needed. I then Removed the console, painted the inside of the stick grip acces black and added a bead of flox along the edges. I pressed the console into position and gave it a little help with a PVC pipe during cure. My second task was to cover the gaping hole located right over the torque tube without contacting the tube. This required that I stretch some BID tape over the hole using aluminum tape during the layup process. It's worked great in the past and it did today as well. I also placed a small piece of aluminum tape over a section of the torque tube just in case some resin were to drip onto it. And of course it DID, so I'm glad I insured the job :) After cure I will then have a small enough gap to layup glass without needing tape. This leads me to pause here and move onto the passenger head rest hardpoints. I'll need a resin free backseat to work in tomorrow so the finalizing of this console will be at the end of the day. More coming!