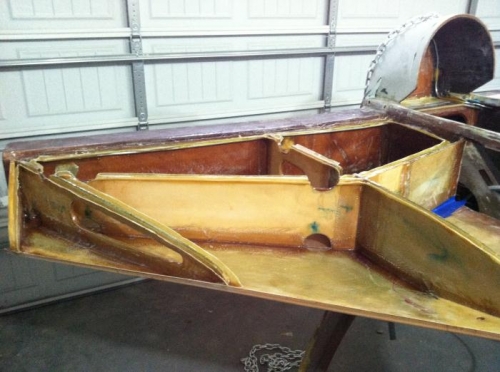
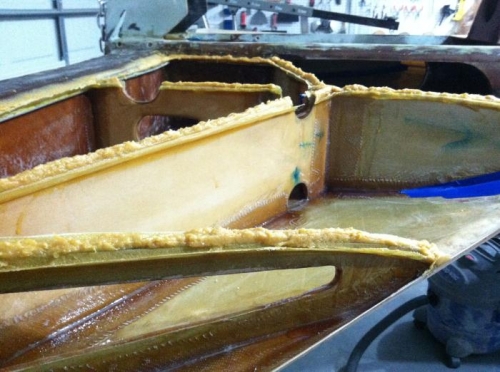
I took 36 grit on a sanding block and trimmed all of the Bid strips down in order to allow the top skin to fit flush to the baffles. After confirming a definite position of the top skins I clecoed the inboard and outboard leading edges. I then removed the clecos and piled up a LOT of somewhat dry flox on every vertical surface. I then used aluminum foil tape to cover the underside of the top skin as a release. I then took both skins, Placed them in position, clecoed and weighted them down. I chose my weigh down points based on the outside borders. The plans say to add weights all over, however this would create an uneven surface after cure. Small low spots where the heaviest weights were. Instead I left the molded skin to decide where it wanted to lay after compressing the borders. After all this was done, I got inside the cockpit and added flox to the voids between bulkheads and baggage compartment. Of course I could do this later but I like knowing that the entire perimeter will be 99% flush prior to the final top skin attachment. BTW, the bid strips are AWESOME. They made it SO easy to pile up the flox. Rutan must have had specs of flox everywhere during this step :) Not me....