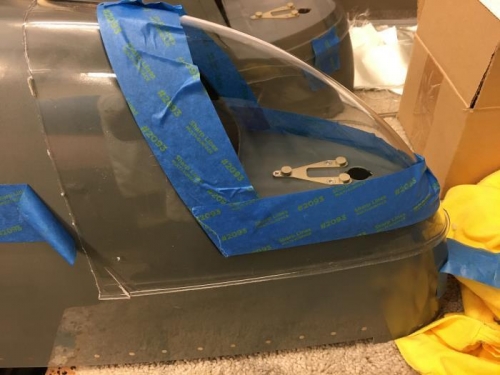
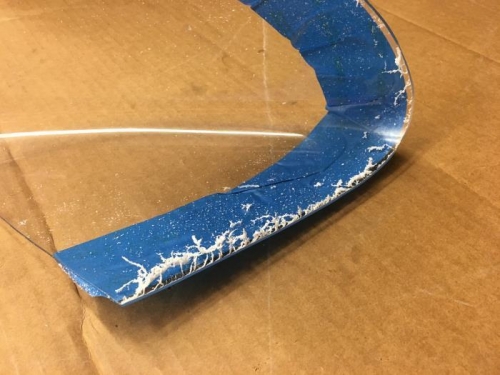
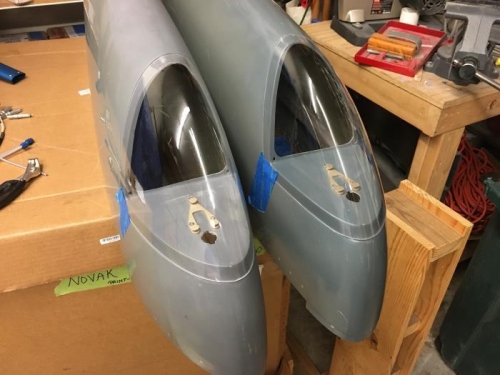
Started out by placing the lens half on the tip and moving it around until it settled into it's natural position on the tip and then I taped it in place. Next, I taped along what should be the final cut line all the way around. I then took the lens off and cut down to 1/4" off the tape line with the snips as this seemed to work the best. I just treated the lens like aluminum and did not cut all the way down before moving the snips and cutting again. With the cut to within 1/4" from where it needed to be, I went to the scotchbrite wheel and ground/melted the tip down almost to the cut line. I should have just gone down to the cut line from the beginning, but it's the process of sneaking up on it so as not to ruin the part by over cutting it. Initially I was trying to get the horizontal sides to fit and then work on the vertical, but these things are like the canopy and when you get one area to fit, it changes the geometry of the other areas, so it's better to get it close on all sides and then make small adjustments all the way around. As a last step, I use the sanding block and give it a good final smoothing. I got the left and right lens down to a good fit. The second one went much faster than the first (naturally) as I got right to the cut line and then did the finish grinding/melting and sanding.