
|

|
|
|
Jims RV-8
|
Date: 11-28-2020
|
Number of Hours: 2.30
|
Manual Reference: 12-3
|
Brief Description: Firewall cowl hinges
|
|
Based on a heads-up by my buddy Rob, there is a need to rivet the two lower side cowl hinges in place before attaching the engine mount. If the engine mount is in place– there is not enough room to buck or squeeze the lowest two rivets on each cowl hinge. It’s not really a deal breaker – one can always use blind rivets, but I figure today is a good day to complete this task. The 1/8" hinges are used here and are cut to 15.5" lengths. Then the hinges are drilled, deburred, countersunk and primed. While the left side hinge primer was drying (I just shot primer on the surface that contacts the stainless steel firewall flange), I went to the right side and drilled, deburred and countersunk the hinge for the right side. That allowed enough time for the primer to dry on the left hinge and I commenced to primer the right hinge and then rivet the left hinge in place. I loosened up the rotisserie mount and moved it out of the way so that I could get to all the hinge rivets - and squeezed them with the pneumatic squeezer. I still love that tool. After completing the left side and reattaching and tightening the rotisserie mount hardware, I moved to the right side, removed the smoke tank from the lower baggage area, and un-did the mount hardware, and riveted the hinge in place. Then I reattached the mount hardware on the right side and put the smoke tank/pump back in it's place.
|
|
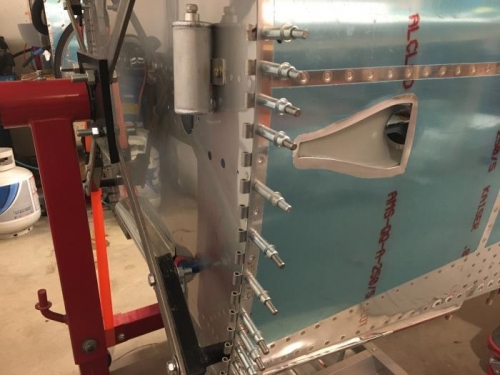
drilled the hinge, rotisserie mount still in the way
|
|
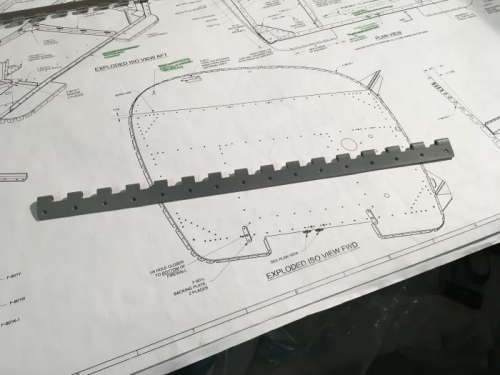
primed after deburring and countersinking
|
|
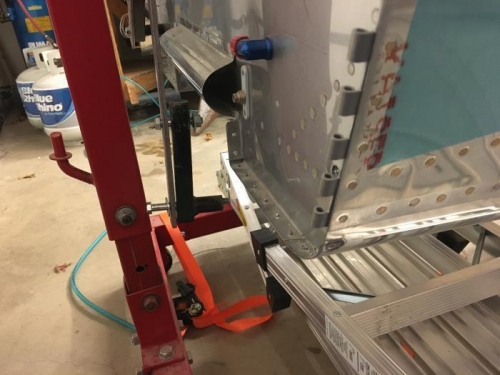
riveted in place after moving mount (seen hanging)
|
|
|
|
|
|
|
|
|
Copyright © 2001-2024 Matronics. All Rights Reserved.
|